Is it August? Yes. Did I want to get started on some holiday crafting while I still had plenty of down time for painting over the summer? Yes, that too.
This was my mom’s recipe. When I was little, I had some Christmas ornaments that “we” made out of this stuff (I’m pretty sure my mom did 99.9% of the work). Note that these are not food and will not taste good if you try to eat them.
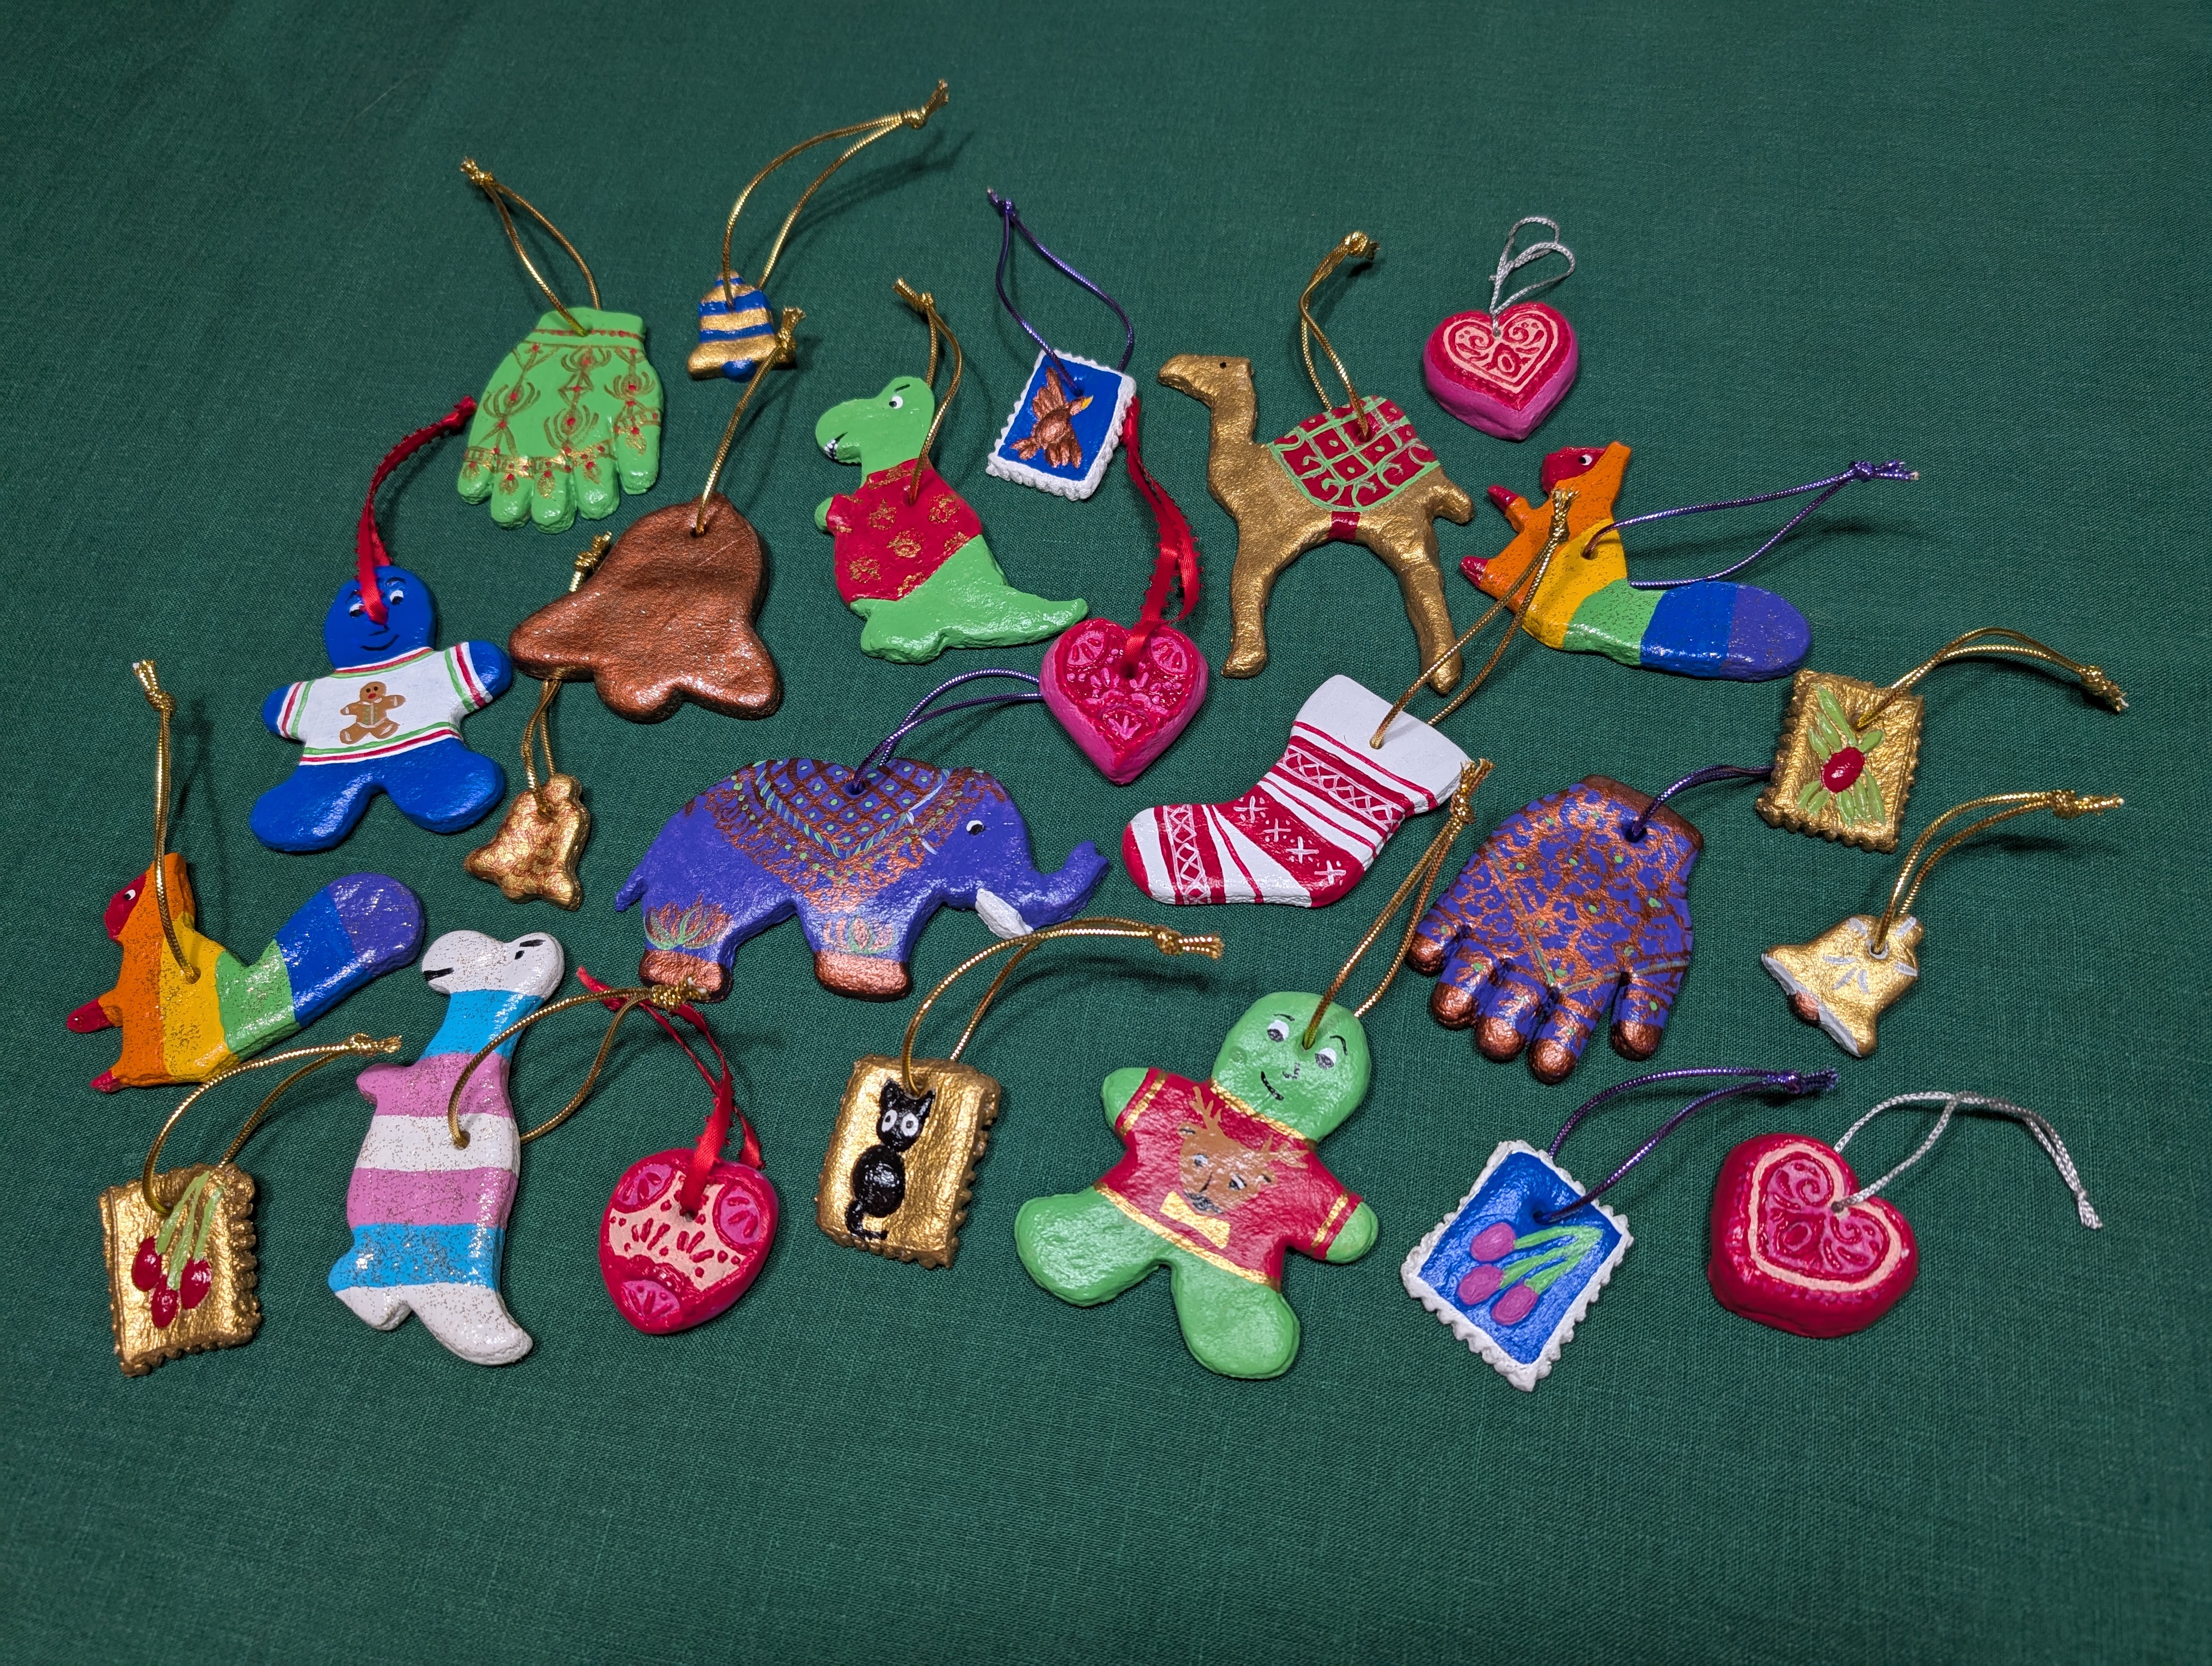
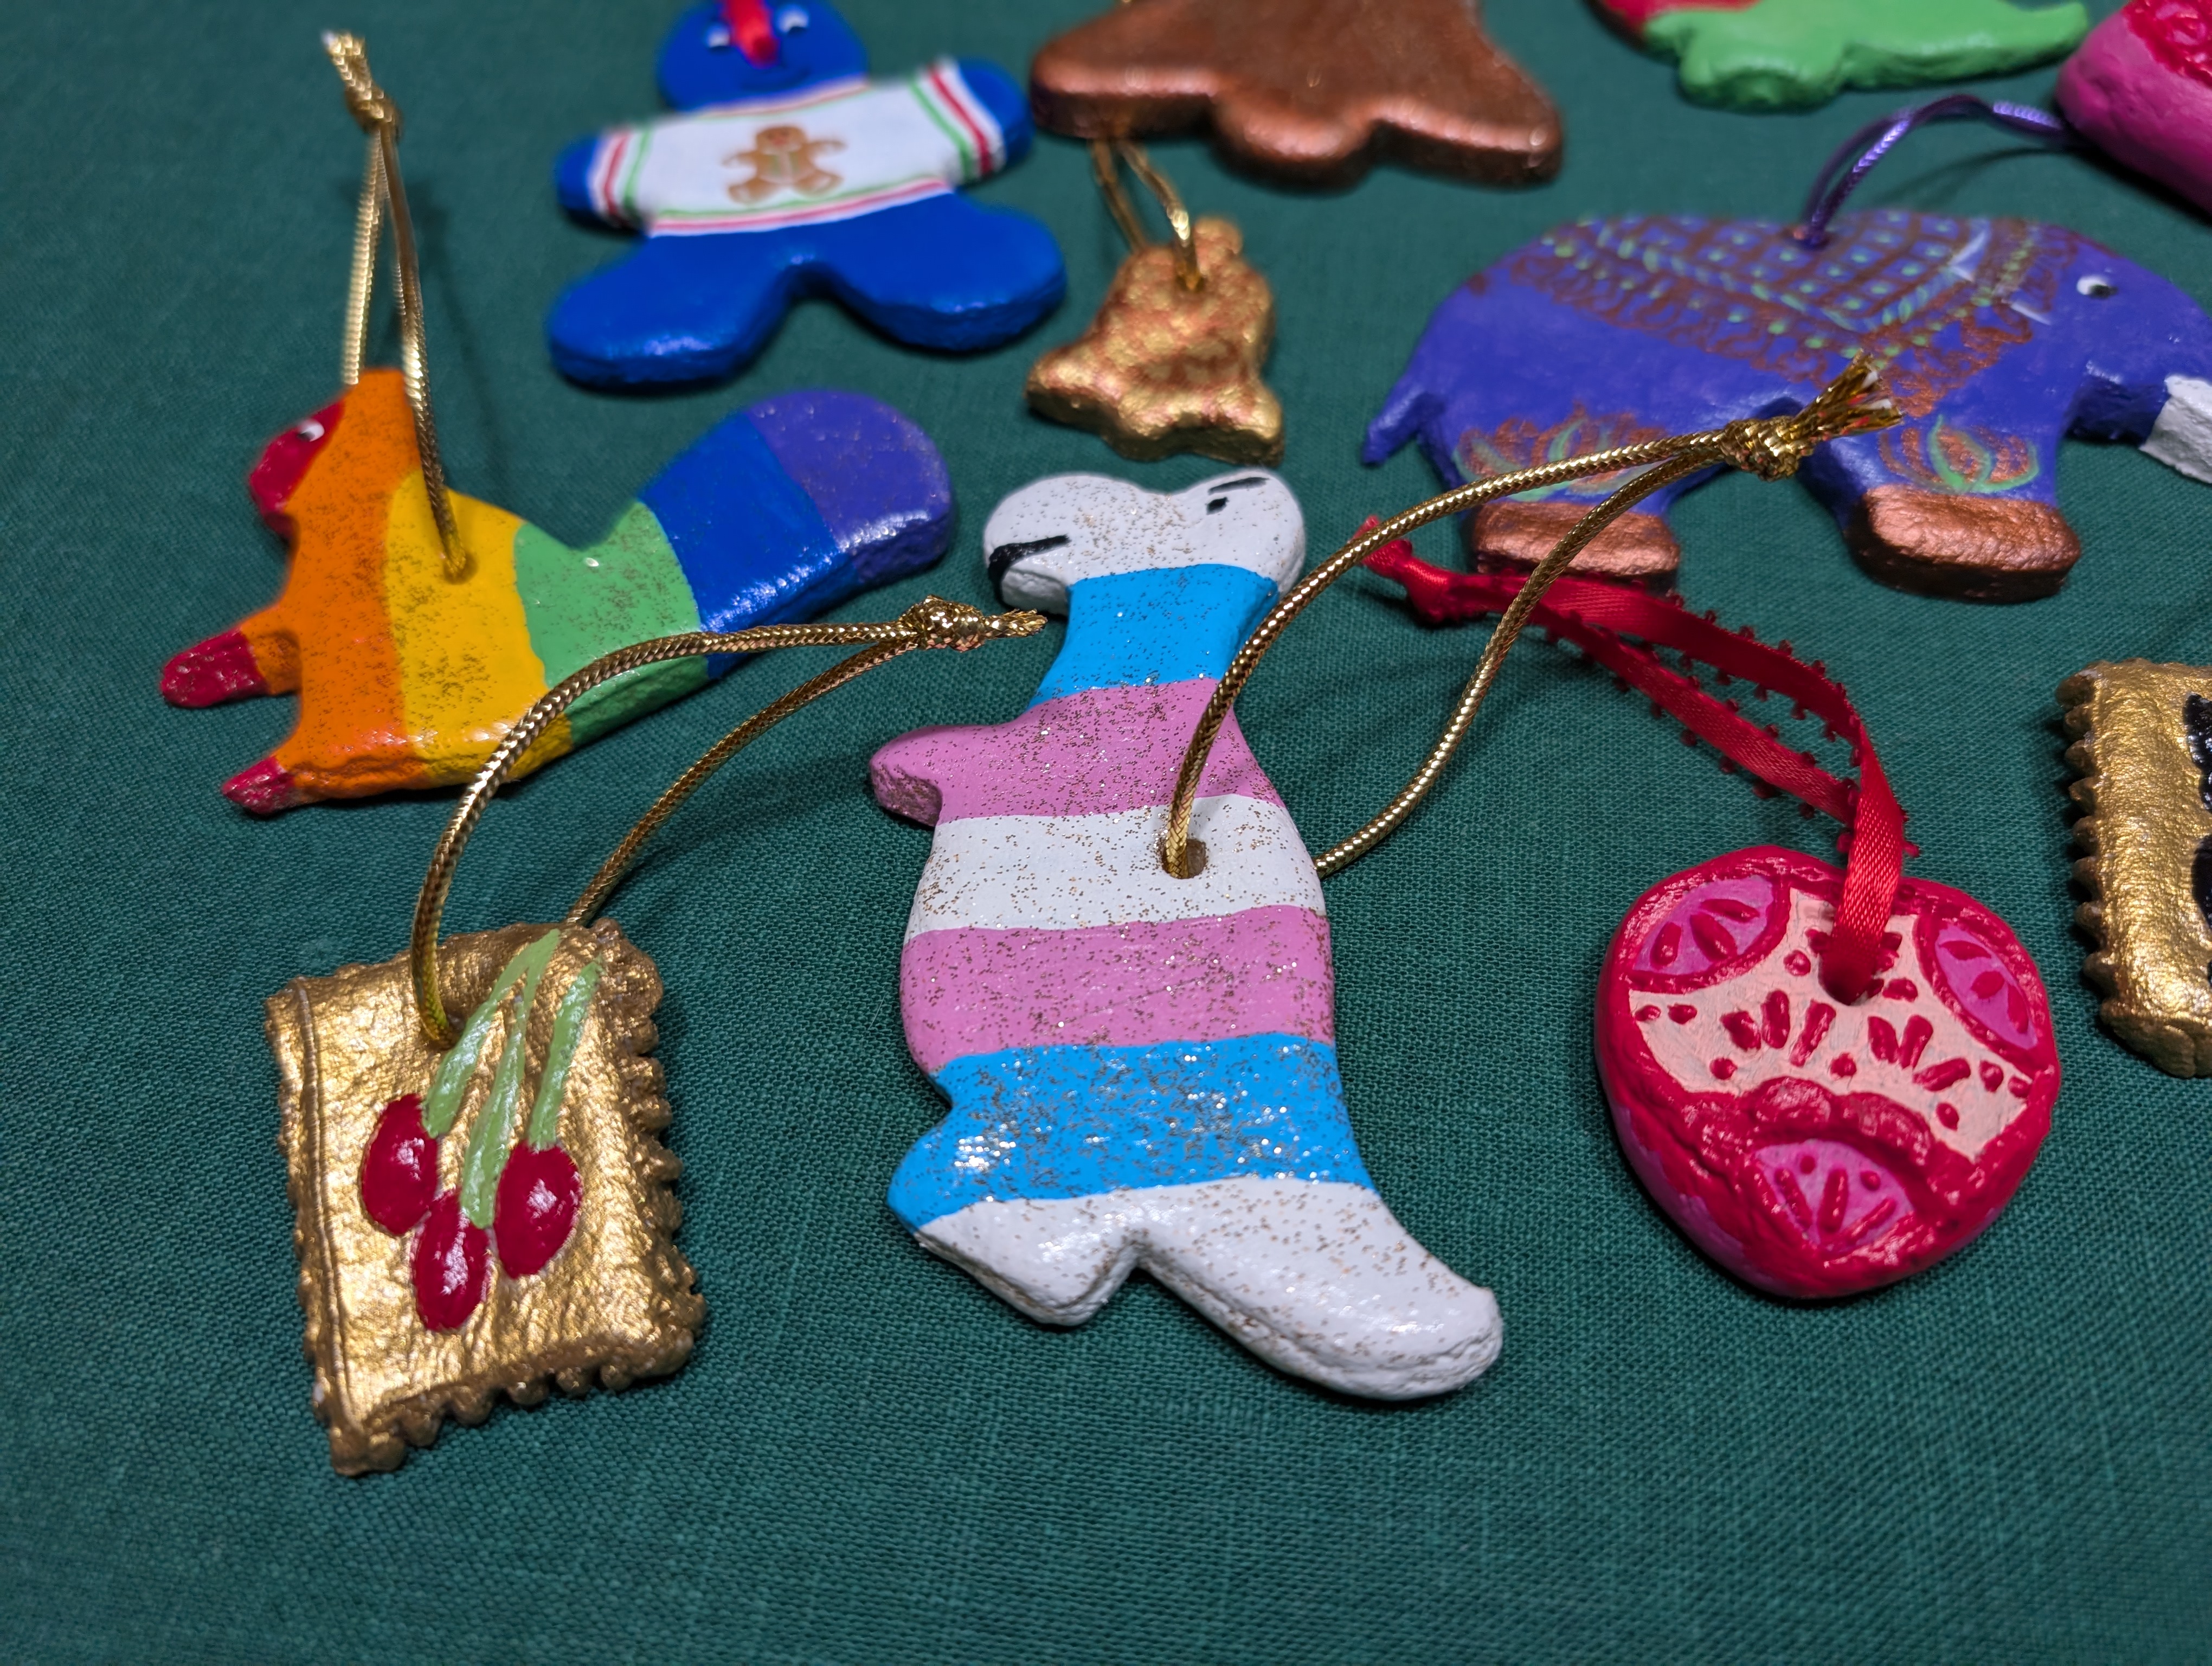
The dough can be colored with food dye, though it’s not mentioned on the recipe card. These can also be painted after the baking process, which I chose to do with this batch.
There is a long baking process, so it’s good to time this around your ability to be home and awake when they’re ready to remove from the oven.
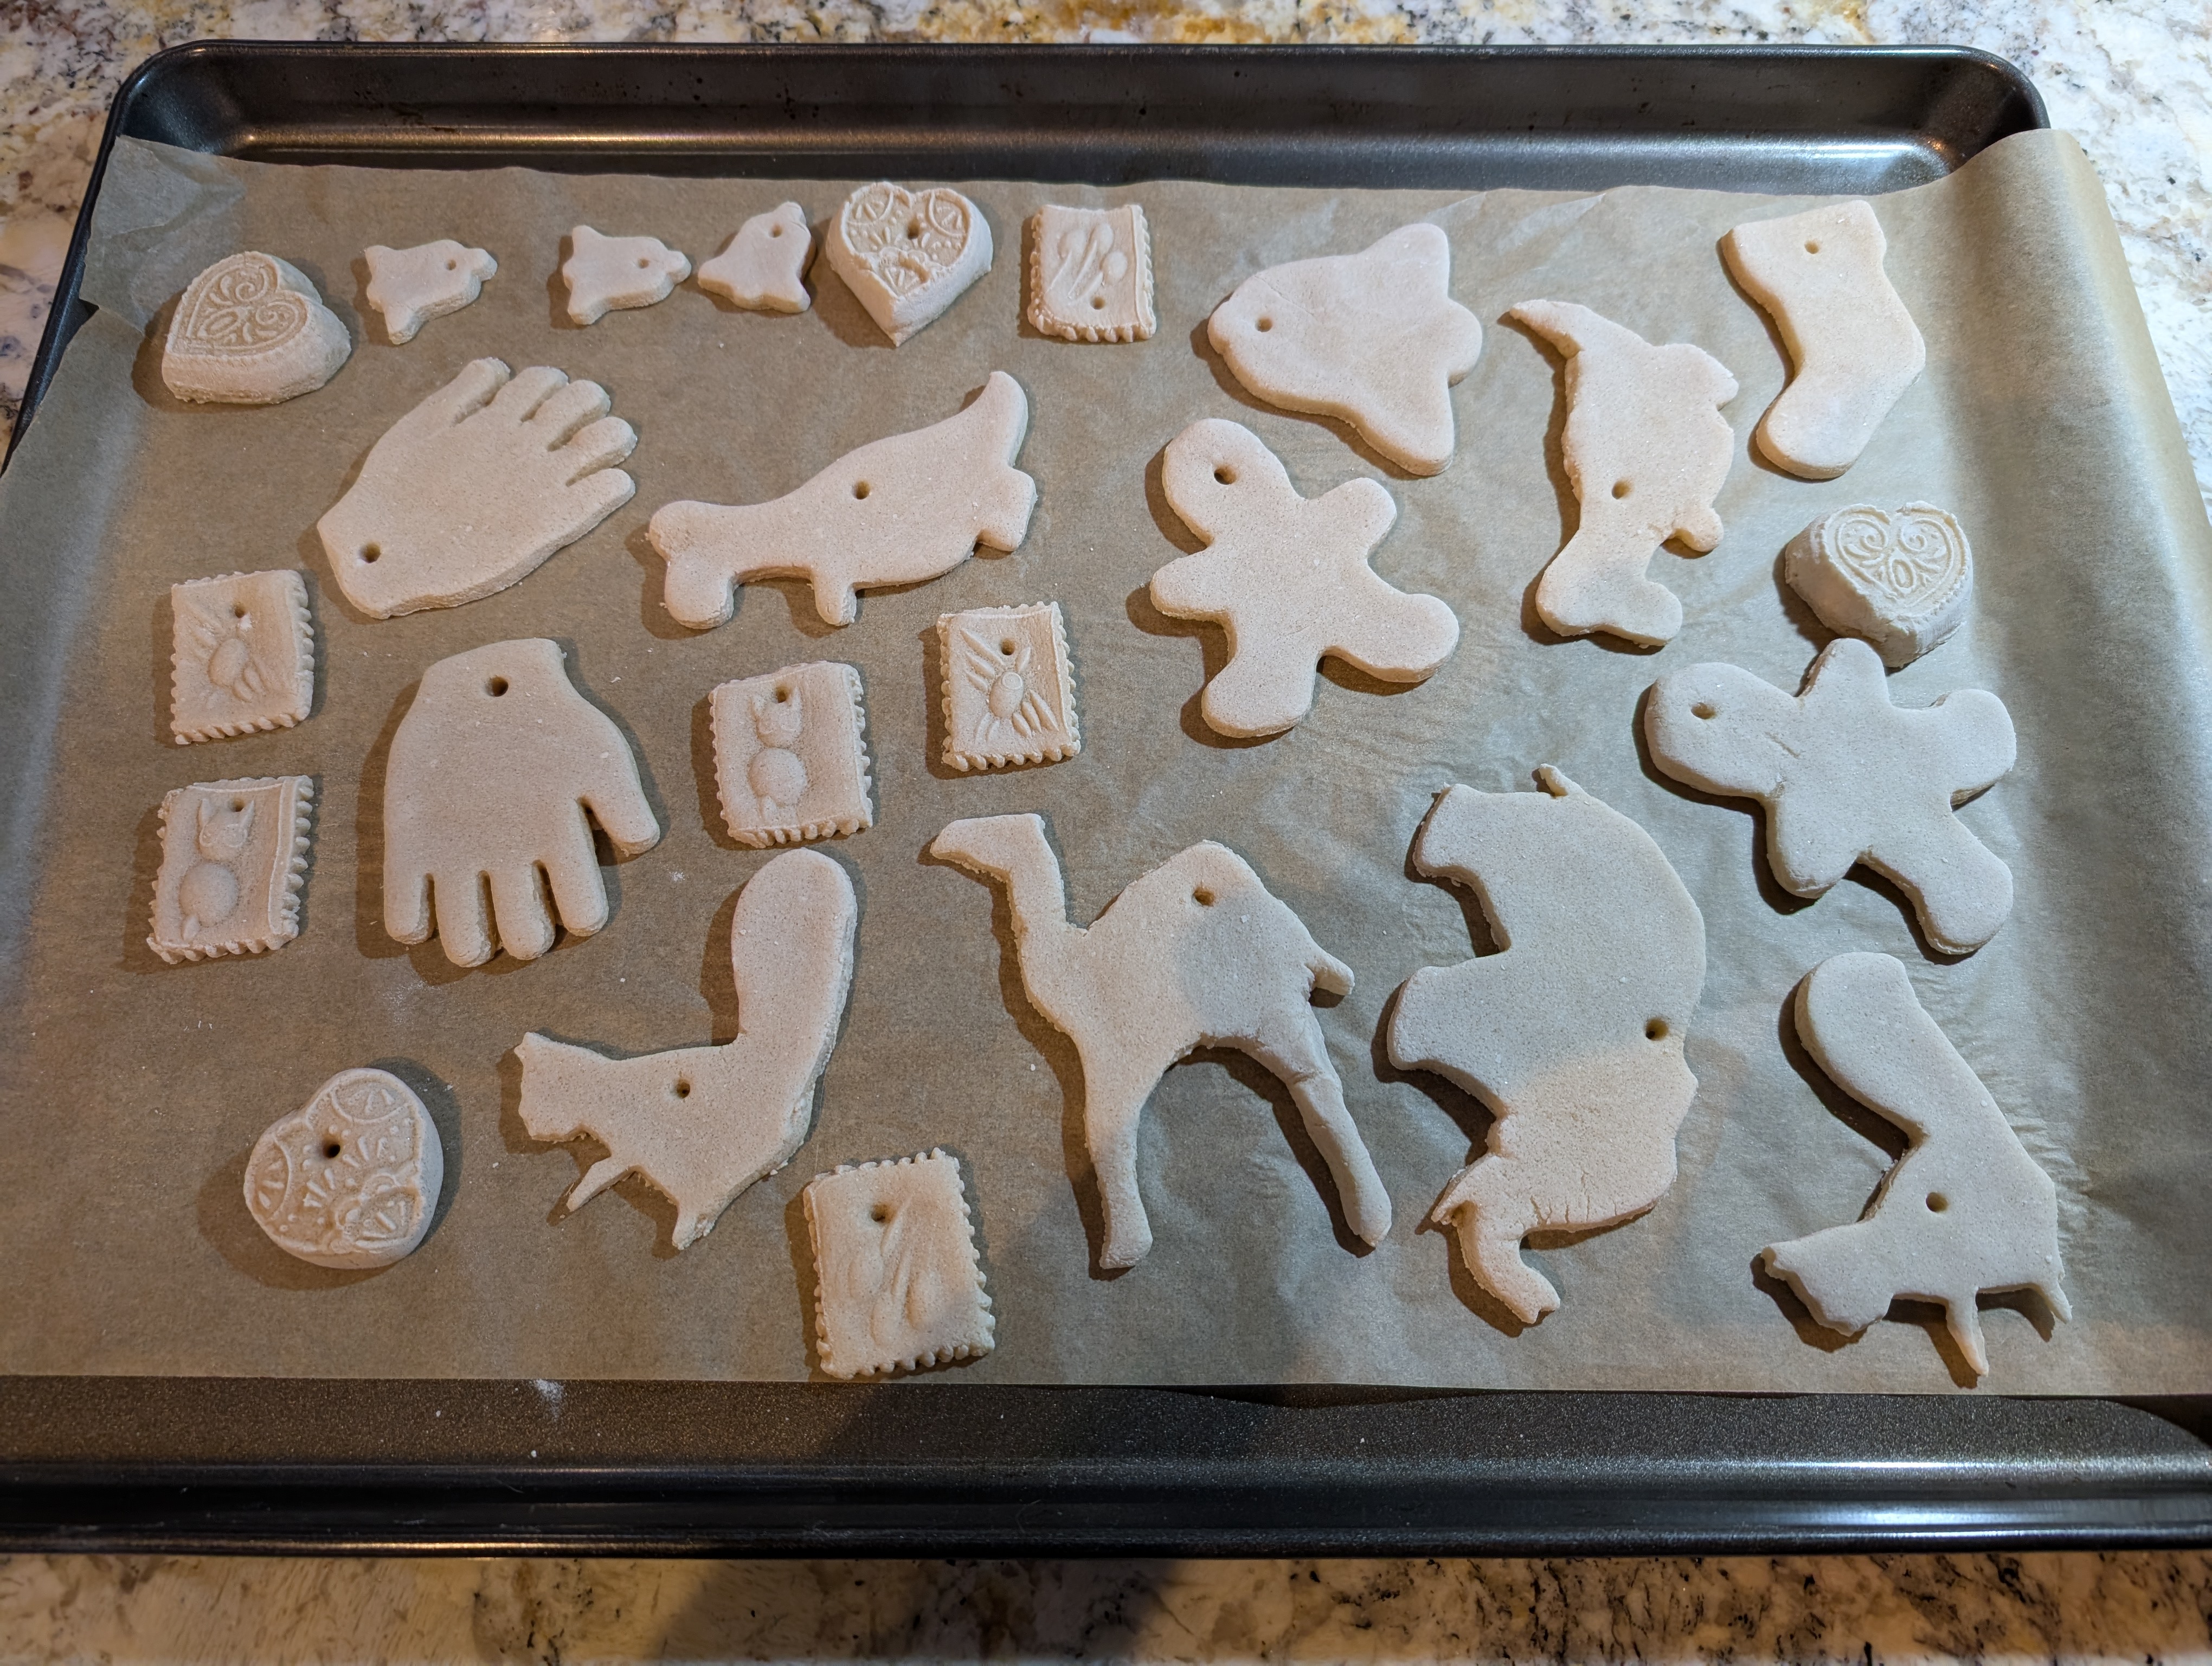
You can use cookie cutters, and as shown in the above photo, you can also use cookie molds (the hearts) or a springerle roller (the stamp-shaped pieces).
2 cups flour
1 cup salt (yes, really)
1 cup water
Other supplies needed:
cookie cutters, springerle roller, and/or cookie molds
toothpick
sandpaper
craft paint
spray polyurethane
decorative cord or ribbon
Knead the dough 2-3 minutes (or until you feel like you have a consistent mass). Don’t worry about over-kneading; you won’t be eating this and this dough actually gets easier to work with as it gets tougher.
Dust a cutting board or other clean surface with flour, and do the same with a rolling pin. (If you’re using cookie molds, dust those with flour, too.) Roll out the dough to 1/4-inch to 1/3-inch thickness and cut. Carefully lay out on a baking sheet lined with parchment paper.
Use a toothpick to poke a hole where you want to add a cord or loop for hanging the ornament, at least 1/4 to 1/3 inch away from the edge. Widen the hole a bit; the dough will try to seal itself up later on.
Bake at 200F for 8-10 hours.
After baking, they will be hard, though not unbreakable, so treat them like fired ceramic, particularly pieces with small appendages (like animal limbs or tails). If there are any rough edges from cutting, you can sand them down with a little sandpaper.
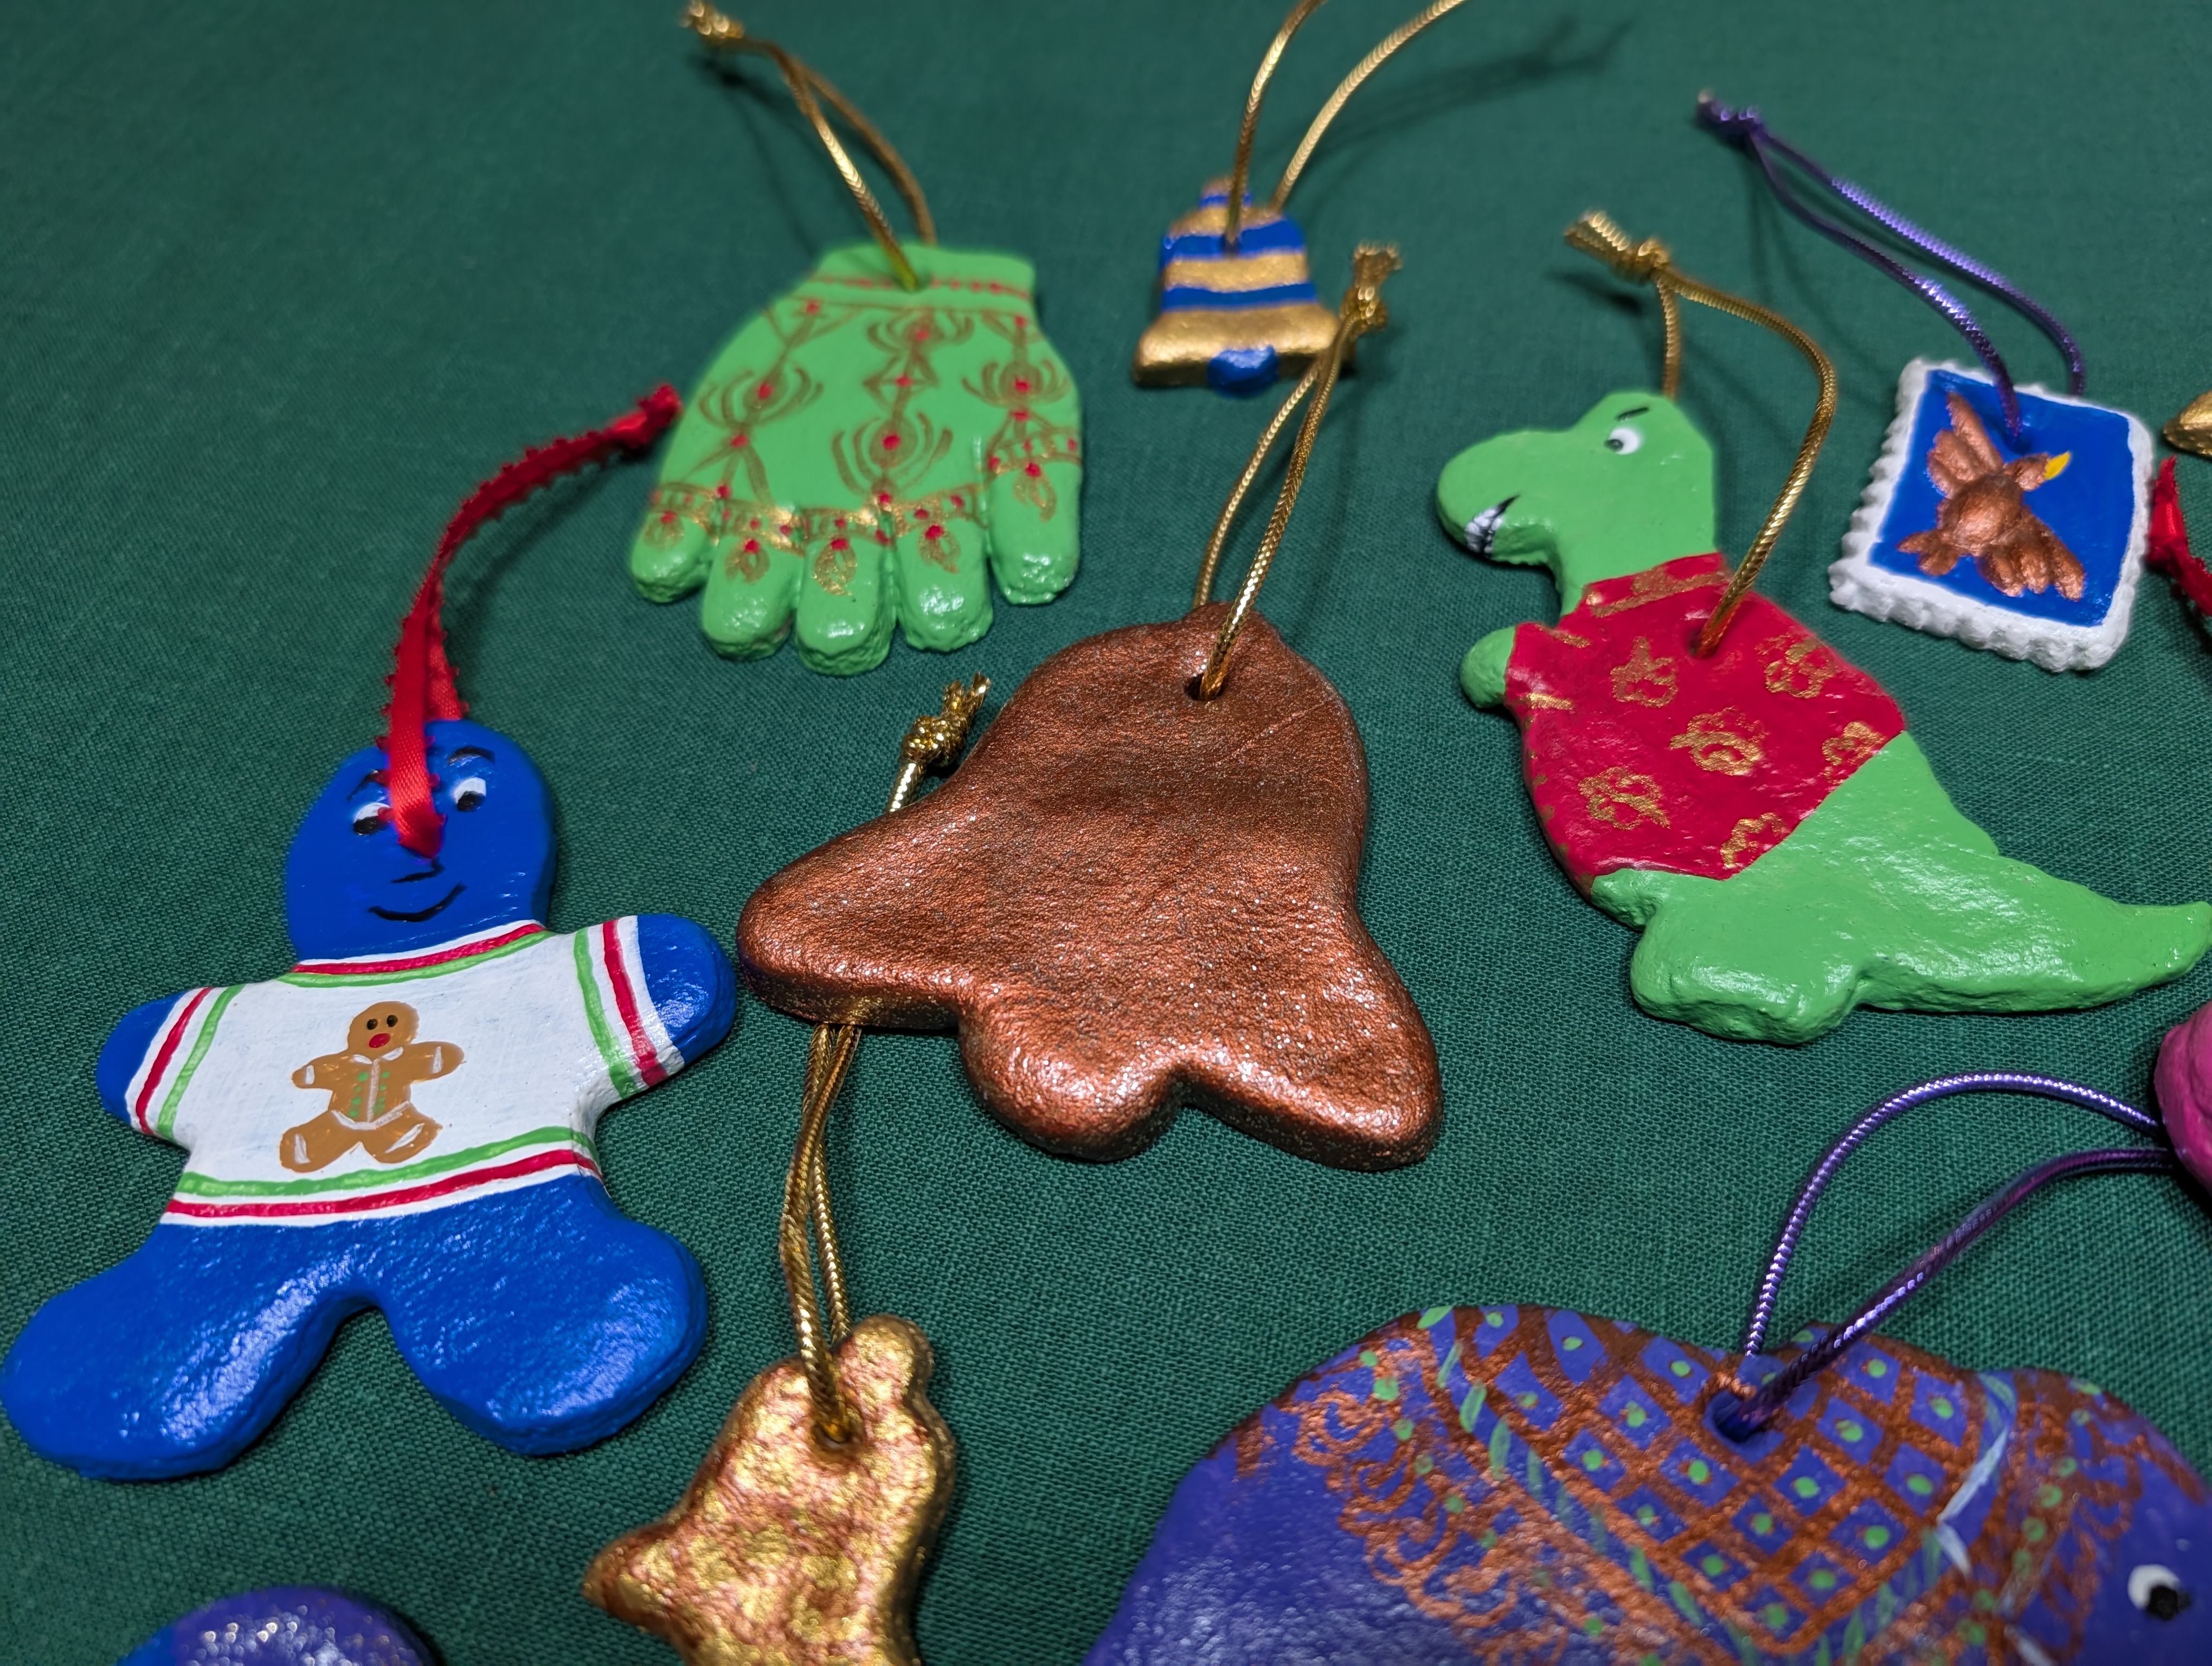
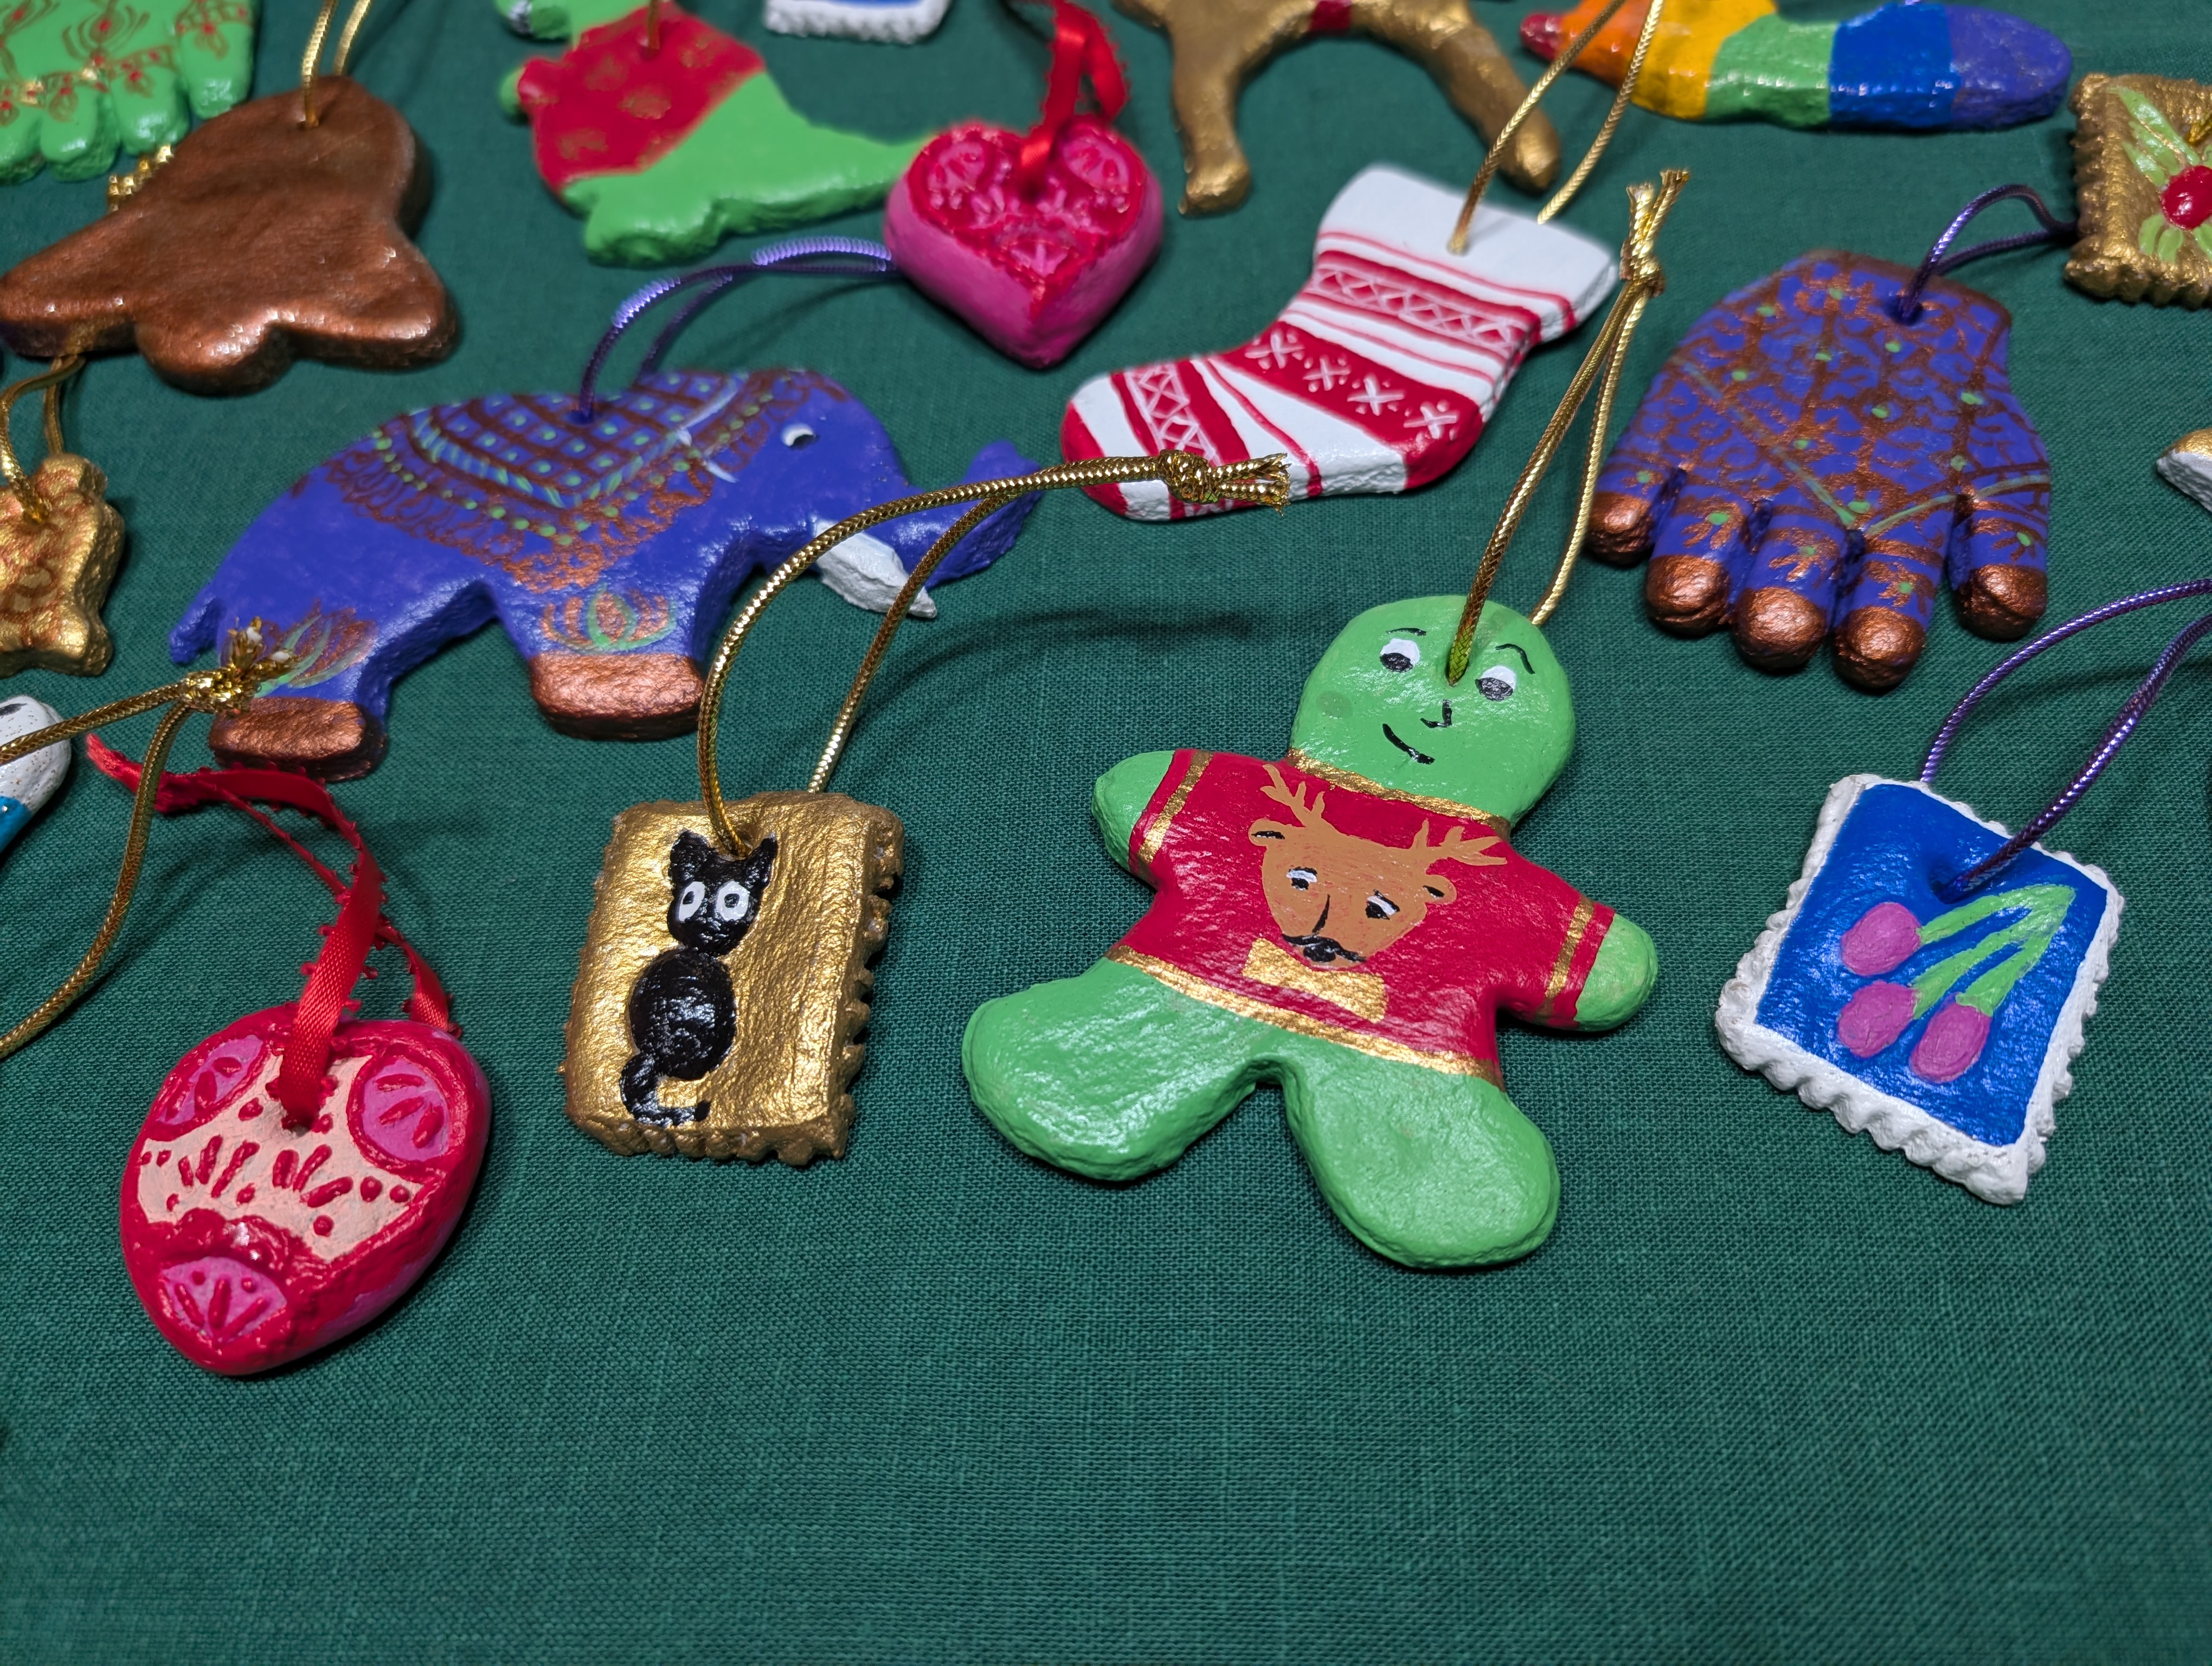
Now for the fun part! Paint with craft paint. You can do both sides or just one. If you want to keep these for years, or preserve the memory of making them with or for kids, add the year and maybe a little message to the backside.
When you’re finished with the design, cover with a couple layers of spray polyurethane on both sides. This will give the ornaments some shine and help protect them from humidity.
When they are dry, tie a loop of decorative ribbon or cord through the hole for hanging. Store wrapped in a paper towel or tissue paper when not on display.
