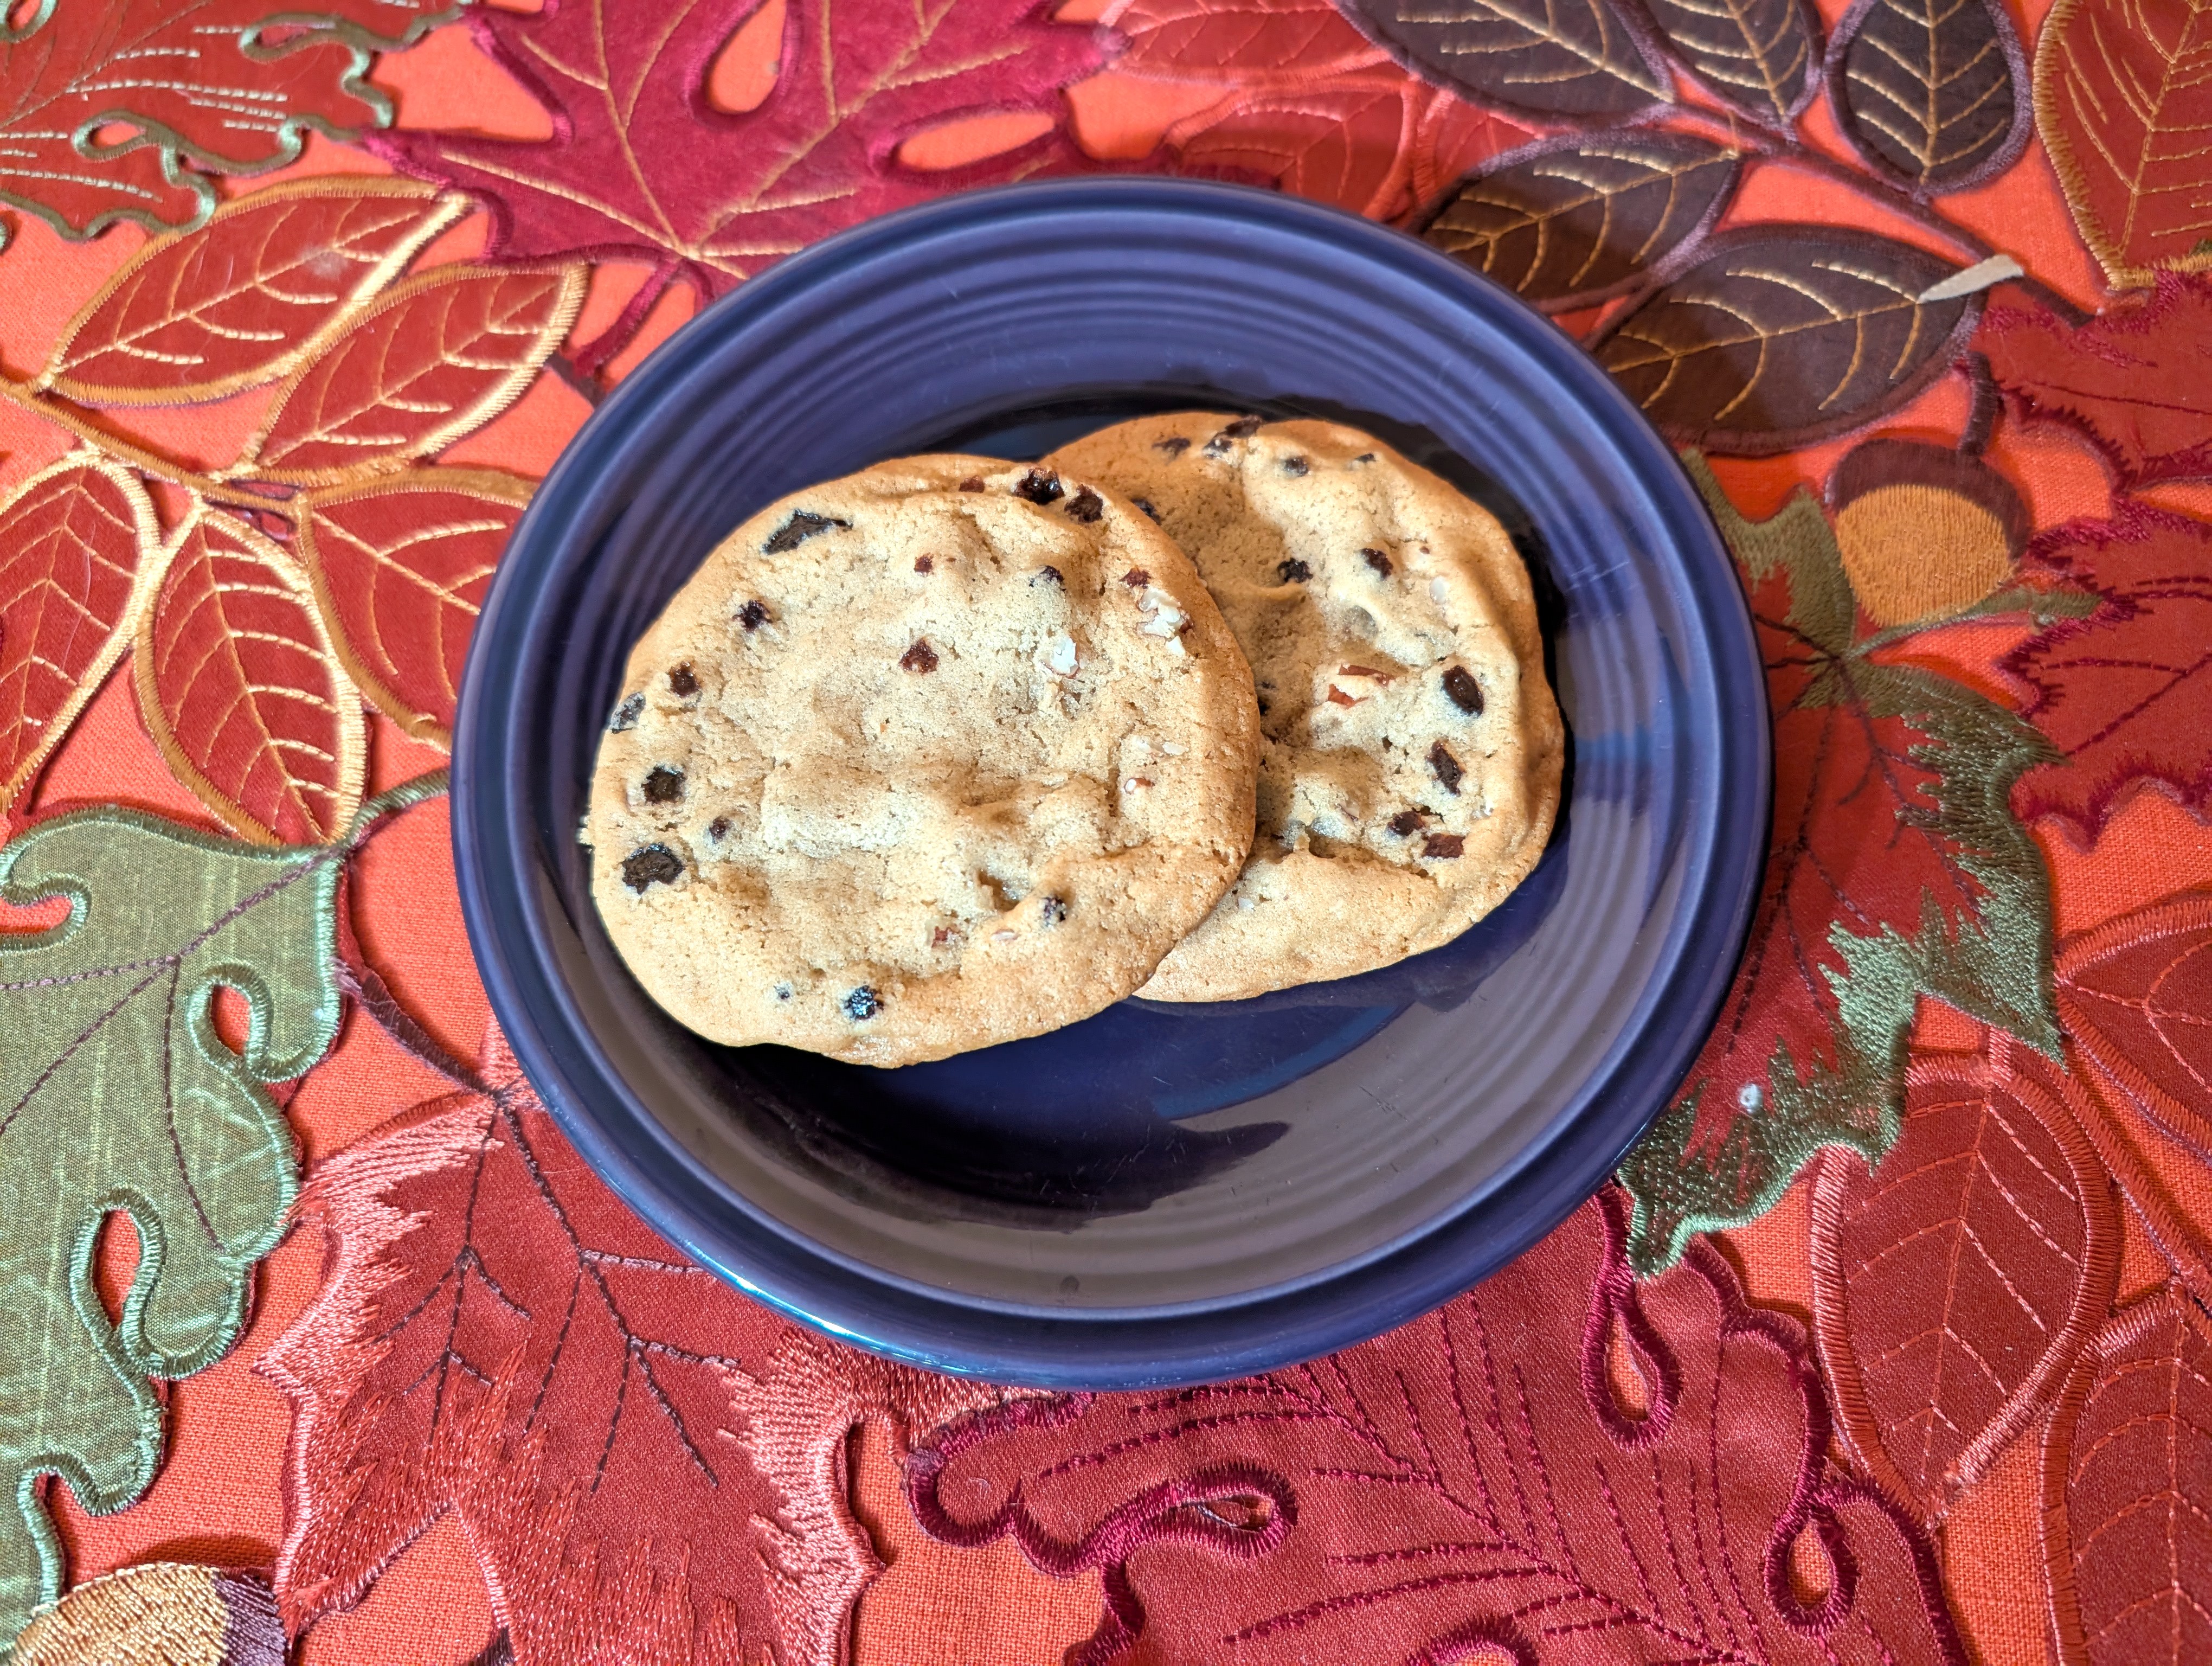
Ice Box Cookies, also known as Refrigerator Cookies, refers to an umbrella term for any cookie dough that you chill before baking. This makes a deliciously soft, chewy cookie.
The original recipe came from my mom’s recipe index card box, and she credited it to someone named Mrs. Girhard. It calls for raisins and nuts, but I feel like you can use this recipe as a base to experiment with other additions and/or flavors to make your own customized cookie. Chilling the dough makes it possible to roll it out into a tube and slice it into circles — this means more control over the shape of the cookie as it bakes.
Another note: the more of these older recipes I make, the more I feel like I am leveling up in my baking skill level. The original recipe index card was a bit vague on the instructions: mix and bake at 350F. I’ve learned enough by now to fill in some of the gaps, such as creaming the butter and sugar together before adding the eggs, then the dry ingredients, and lumpy ingredients last. I could guess about rolling out the dough and chilling it (or else why call it an “ice box cookie,” amiright?). It also didn’t include salt, so I added a little and I’m glad I did. My only mistake was to underestimate how much the cookies would spread out in the oven and I overcrowded the cookie sheets. Still, I think I might try these again sometime with some other flavor combinations.
This makes about 26-26 cookies depending on how thinly you slice them.
2 c. brown sugar
1/2 c. softened butter
2 eggs
1 tsp. baking soda
1/2 tsp. salt
3 c. flour
Optional: 1 tsp. flavored extract, ground spice, or other flavoring
1/2 c. nuts or more (optional)
1 c. raisins (optional; or substitute chocolate chips)
Cream the sugar and butter together, then mix in the eggs. Whisk the baking soda, salt, and flour together, then add to the mix.
Add the raisins and nuts (or other “lumpy”) ingredients last. You might need to use your hand to really knead them in, as the dough will be thick at this point.
Lay out a 2-foot strip of plastic wrap (or biodegradable equivalent) and transfer the dough onto it. Stretch it out and pull the long sides together so you can continue to roll the dough out while it’s in the wrap. Stretch it out until it’s about 2 inches thick.
Chill in the refrigerator for at least an hour or two. (If you’re short on time, you can use the freezer, but don’t leave it in too long or it will be much harder to work with.)
Preheat the oven to 350F and grease a couple baking sheets.
Lay out the chilled dough on your work surface and roll it back into a 2-inch-wide tube, pushing the ends in so they’re flat and don’t taper. Cut into slices about 1/2-inch thick and lay on the baking sheet. These will spread out quite a bit in the oven, so leave at least 3-4 inches between each one.
Bake for about 10-12 minutes and remove as they brown around the edges. Cool on a rack.
These can be stored in the freezer if you want to save some for another day.
