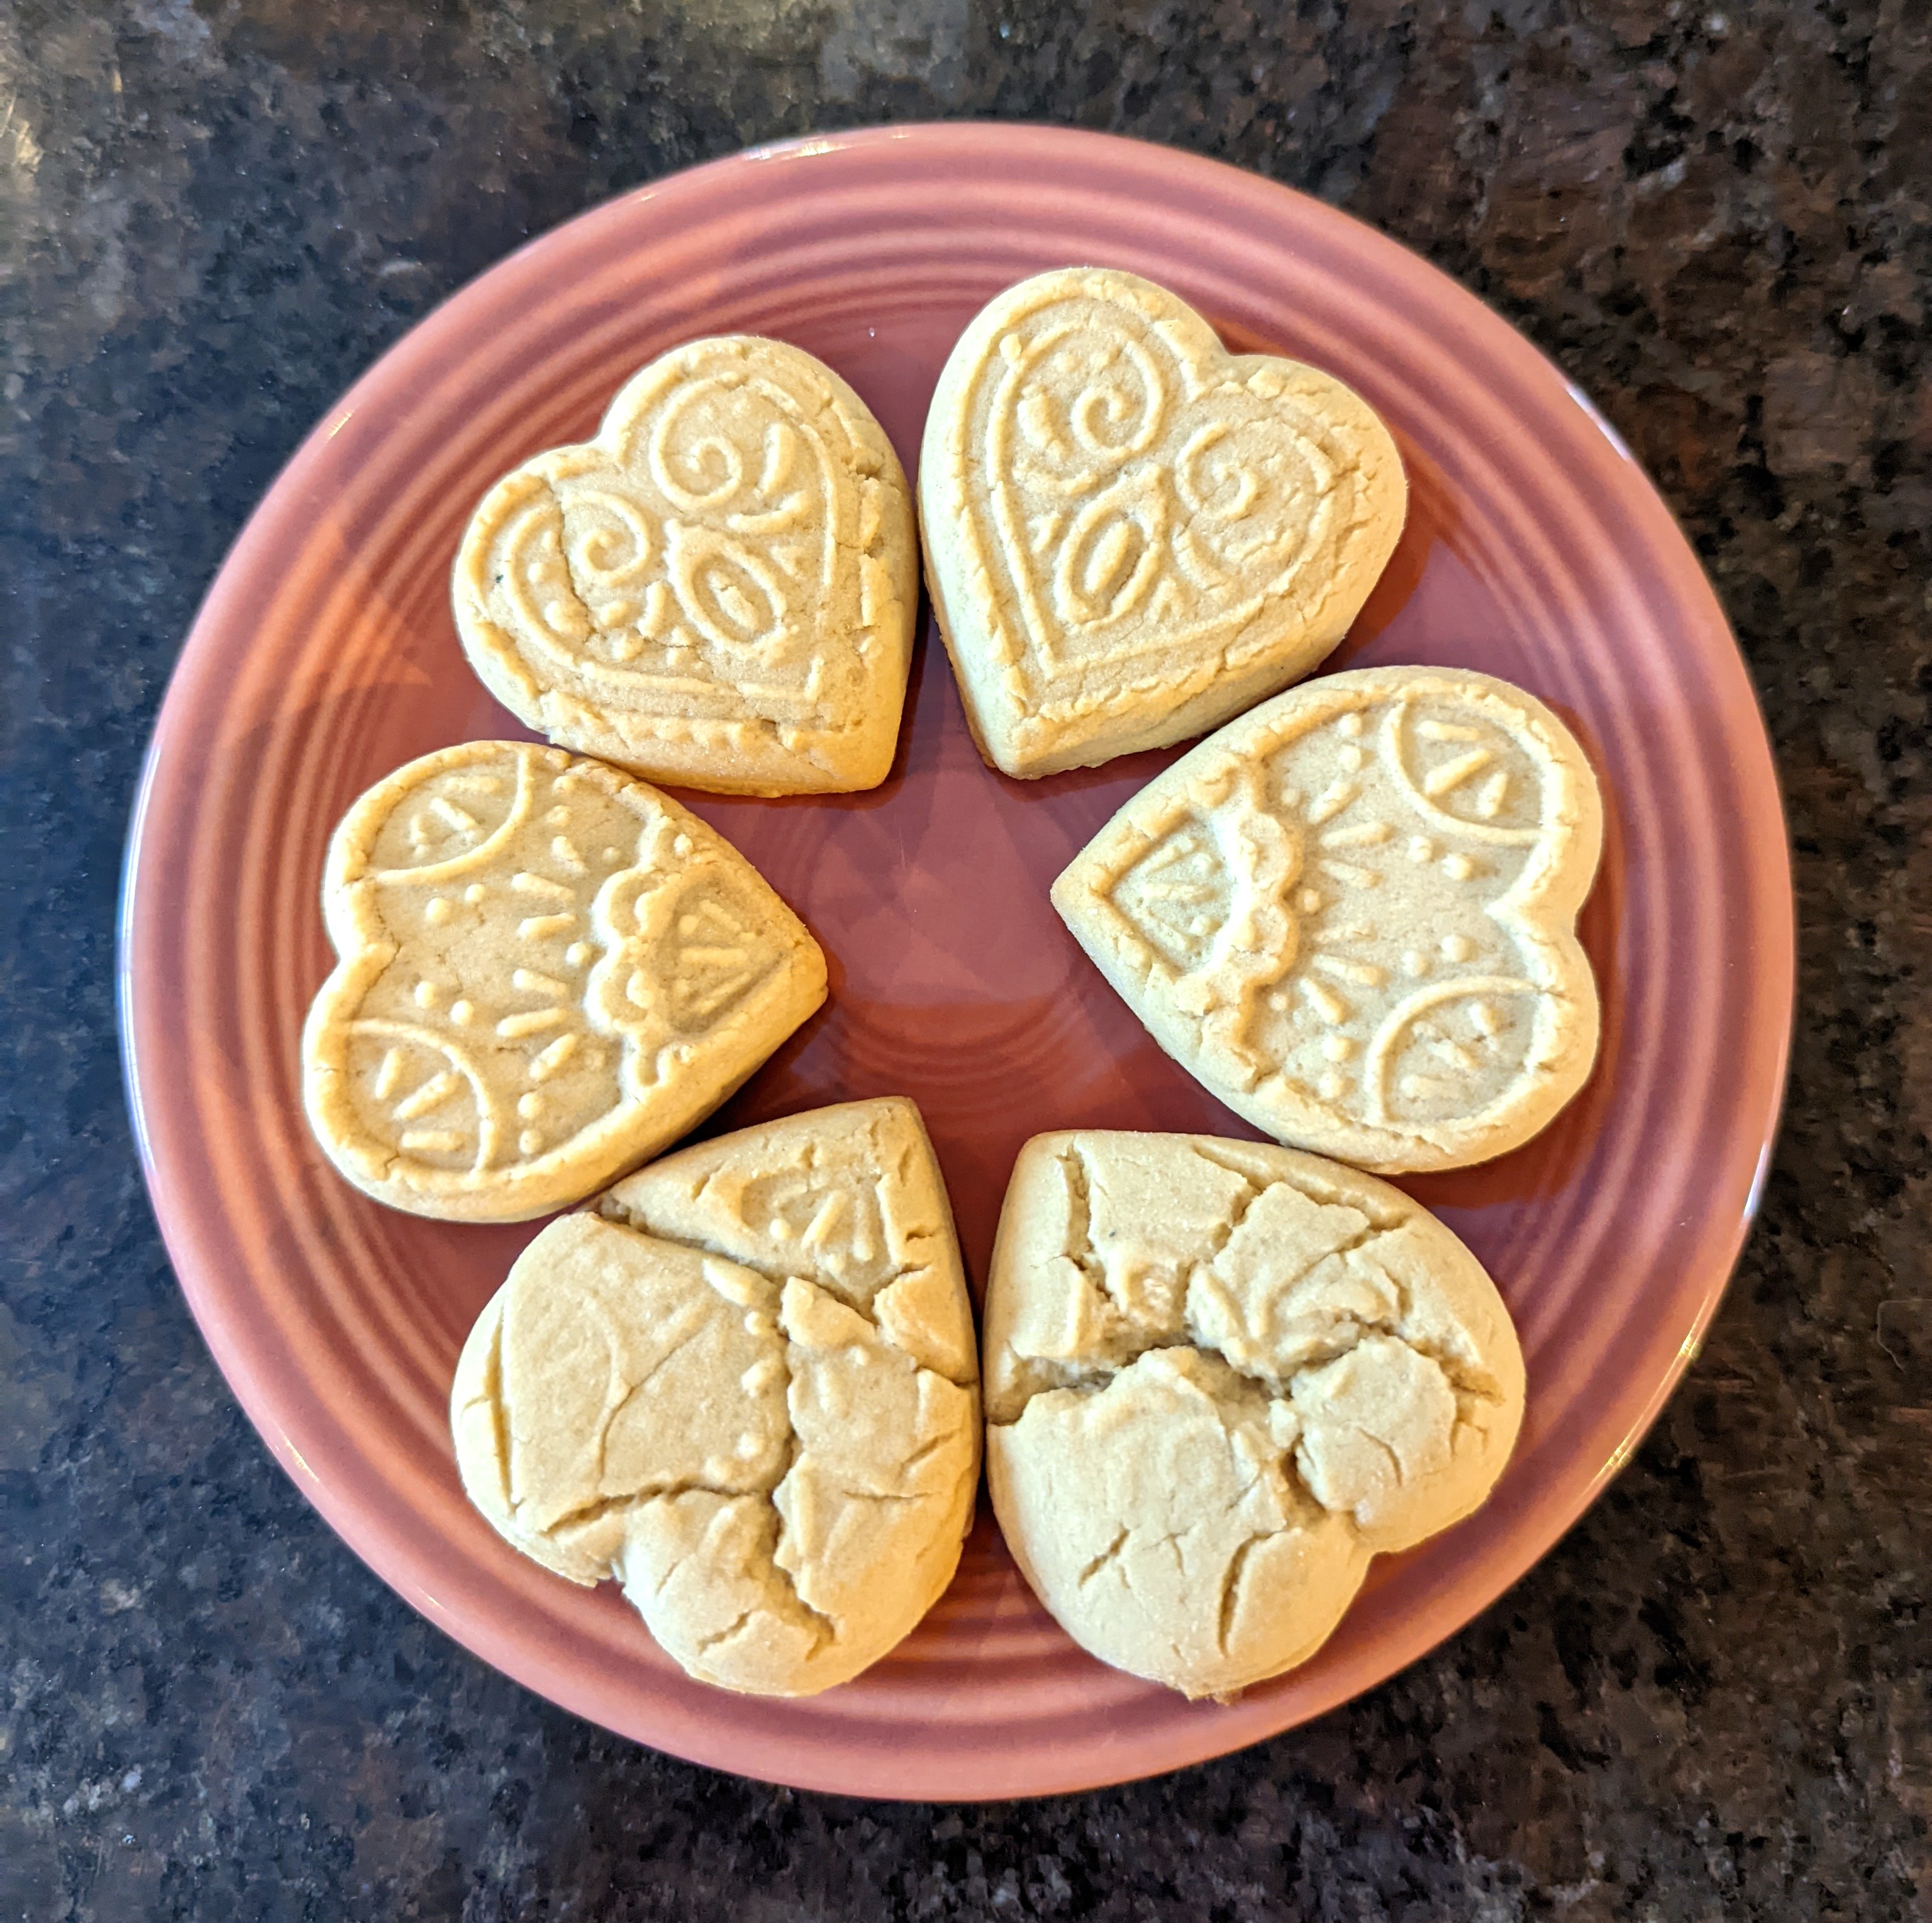
But keep in mind that hearts are still delicious even when they’re broken!
This recipe comes from Baking with Cookie Molds by Anne L. Watson (3rd Ed., Shepard Publications, 2018). It makes a delicately sweet, lemon-flavored cookie dough that’s designed to work well with cookie molds. Using cookie molds isn’t exactly a beginner-level baking technique (hence the need for a how-to book) — and it’s apparent from my photo that I ought to practice a bit more as I’m far from an expert.
But I’ve gotten so used to looking up my recipes online, that I’m sharing it here for my own purposes. Maybe someday, I’ll get into more molded cookie recipes and feel comfortable altering them into my own. In the meantime, if you get serious about wanting to make molded cookies, I strongly recommend getting her book as she has a lot more instructions and tons of photos demonstrating the process.
1 c. unsalted butter
1 egg
1/2 c. honey
1 tbsp. lemon juice
1 tsp. lemon extract
1/2 c. sugar
1/8 tsp. salt
~4.5 c. flour
Melt the butter and set aside. Let it cool slightly, but not resolidify.
Beat the egg in a large bowl until the yolk and white are fully mixed.
Mix the honey, lemon juice, and lemon extract. Add to the egg and beat until well mixed.
Mix the sugar and salt. Add to the egg mixture and beat until well mixed. If it isn’t smooth, it will be as you add the flour.
Add the melted butter slowly (to avoid cooking the egg) and beat until well mixed.
Add flour slowly and mix in until you have a dough that is solid enough to knead. A stand mixer with a flat beater is ideal, using the lowest speed to avoid mixing too much air into the dough. Stop occasionally to scrape flour from the sides of the bowl so you don’t add too much.
Add the last cup of flour very gradually, paying attention to the mixture. With a stand mixer, you’ll hear a change in the sound of the motor. If stirring by hand, stop when it’s too thick to continue.
Transfer the dough to a floured work surface and continue adding flour by kneading in a little at a time until the dough is smooth and slightly sticky. A dough scraper is handy for scraping up the sticky bits.
Wrap or cover the dough to prevent drying, then refrigerate to make it less sticky, for about half an hour or so. It should be cool to the touch and firm but still flexible, like modeling clay (about 60F). If it’s too stiff, let it warm back up slightly until it’s workable.
At this point, you can either slice them into rounds, roll out the dough and use cookie cutters, or use cookie molds.
Working with a cookie mold:
Use a brand-new toothbrush or paintbrush and lightly coat the inside of the mold with cooking oil, being sure to reach all crevices and corners and the flat surface between the cavity and mold edge. It should look softly shiny like satin, but not glittery. Blot any excess with a clean kitchen towel (paper towels will leave fibers behind, so don’t use one for this).
Cut pieces of nonstick aluminum or parchment paper slightly larger than the size of the mold(s). Place on a baking sheet.
Prepare a large cutting board with a light dusting of flour and leave a small supply of flour on the side. Don’t use any more flour than you absolutely need, or it will make the cookies tougher.
Unwrap the chilled dough and pull off a piece larger than you’ll need to fill the mold cavity (about twice as large). Flatten the blob of dough and brush over a light coating of flour with a pastry brush (not silicone).
Use a rolling pin to roll out the dough so it’s flat and covers an area larger than the mold. It should be at least 1/8-inch thicker than the thickest part of the mold. For larger molds, go 3/8-inch thicker.
Flip the dough over and brush flour over the new top surface if necessary. This will face the inside of the mold, so use a thin, even coat of flour.
Lift the dough and press down into the mold. If necessary, use your fingers to press until the entire cavity is filled. Flatten it a little by pressing down with your palm, then brush flour over the top. Roll the dough firmly into the mold.
Lay one of the backing pieces over the dough (use the dull side if using foil). Turn it over so the mold is on top, side down, and press hard on the mold. Carefully remove the dough from the mold. If the dough is stuck inside, feel around for weak spots such as corners where you might be able to pinch the dough and wiggle it out.
If there is excess dough around the edges, trim it off with a butter knife or other blunt tool to avoid scratching the mold.
If you are working at this for a while, you might need to put the dough back in the fridge to chill. It will be easier to work with when it’s cold, and the room temperature and your hands will keep warming it up. Re-oil the mold as necessary.
Place the raw cookies with the backing carefully on a tray (not the baking sheet) and put in the refrigerator until you have enough to fill a baking sheet.
Baking
Preheat the oven to 350F. Bake for around 10-15 minutes or until the edges of the cookies are barely beginning to turn golden brown and the tops firm up.
When the cookies are done, remove the backing pieces (you can reuse these) and cool them on a wire rack. Be sure to wait until they’re no longer warm before packing them into a sealed container.
