I recently had the opportunity to take a “Zen of Bread” class taught by Patty Kocot at a fire arts symposium, an event hosted by the Society for Creative Anachronism at Camp DuBois, a historical Louis & Clark settlement near St. Louis. The local group has an arrangement with the camp to keep a handmade clay oven on site that they can use for cooking and events at demos, and as such, this was an excellent opportunity to learn how to bake bread using methods that were common for millennia before modern ovens.
For this class, we made simple white bread, which also helped me grow basic skills in working with dough — something I’ve struggled with in the past. And the loaf I made turned out perfectly, so I’m hoping to save the information here for future reference the next time I try baking a loaf in my modern oven.
This keeps the door from burning and also provides some moisture for the bread inside.
Basic Bread Recipe:
Use these instructions to bake in a modern oven and simulate a wood-fired oven. Further instructions for using a wood-fired oven are below the next photo.
Note: The measurements below are all approximate. We didn’t measure anything in the class, so I’ve guessed at the amounts by size. The key is to adjust the amounts; if you feel like it’s too much flour, add more water, and vice versa. There aren’t any process photos here because my hands were messy. I’m suggesting liquid smoke for modern-baked breads as a way to simulate the flavor of baking in a wood-fired oven, though I honestly haven’t tested this yet.
~2 tbsp. yeast
~2 tbsp. sugar
~1.5 c. water
~3-4 c. high-gluten bread flour
~1.5 tbsp. salt
~2 tbsp. olive oil or melted butter
Optional: 1/4 tsp. liquid smoke (if you’ll bake in a modern oven and want a wood-fired flavor)
Put the yeast and sugar in a large bowl. Add water and stir, then ~2 cups of the flour. Mix to combine. Add the salt, olive oil, and liquid smoke, and mix again.
Cover with a dish towel and let it sit for about 30 minutes. When the mix has expanded into a soft, jiggly sponge, you’re ready for the next step.
Add another ~1-2 cups of the flour, a little at a time. You want the dough to be hydrated and not too dry. Stir until you can’t, then flour your hands and scrape the crumbs from the sides of the bowl and knead. When you have a solid piece, flour a flat surface and knead.
Keep kneading and don’t worry about over-kneading if you’re using your hands. (A stand-up mixer is more likely to over-knead.) When you punch it and it springs back, add oil to the bowl and use the dough to mop it around the sides of the bowl until it’s greased. Cover with a damp dish towel.
Wait 30-60 minutes or so until the dough has risen to double in size and gets wobbly. Check it by poking two holes in the top. If it collapses, it’s ready.
Spread some semolina on a work surface and dump the dough onto it. Use your hand to mash down the dough and pull the edges to the center. Squeeze the edges until they’re mashed together, then flip it over and you have a nice little ball. Shape the dough into the final shape you want to bake it in (sometimes the dough will tell you what it wants to be and you just need to go with it).
Cover it loosely with a damp dish towel and wait. It will double in size again.
Note: If you’re using a proofing oven, the ideal temperature is ~140F, or roughly bath water temperature. Don’t go any higher or you might kill the yeast.
When the dough has doubled again, use a bread knife to cut 2 deep slashes in the top in an x, about 1″ deep.
If you’re baking in a modern oven, preheat the oven to 475F. Add a small pan of water to the oven; this will keep the bread moist while the bread is baking.
Put semolina onto a baking sheet and place the dough on top. As soon as you put it in the oven, turn down the heat to 400, then 350, with the goal of reaching 350F 30 minutes into the baking time. This will simulate a wood-fired oven as it gradually loses heat.
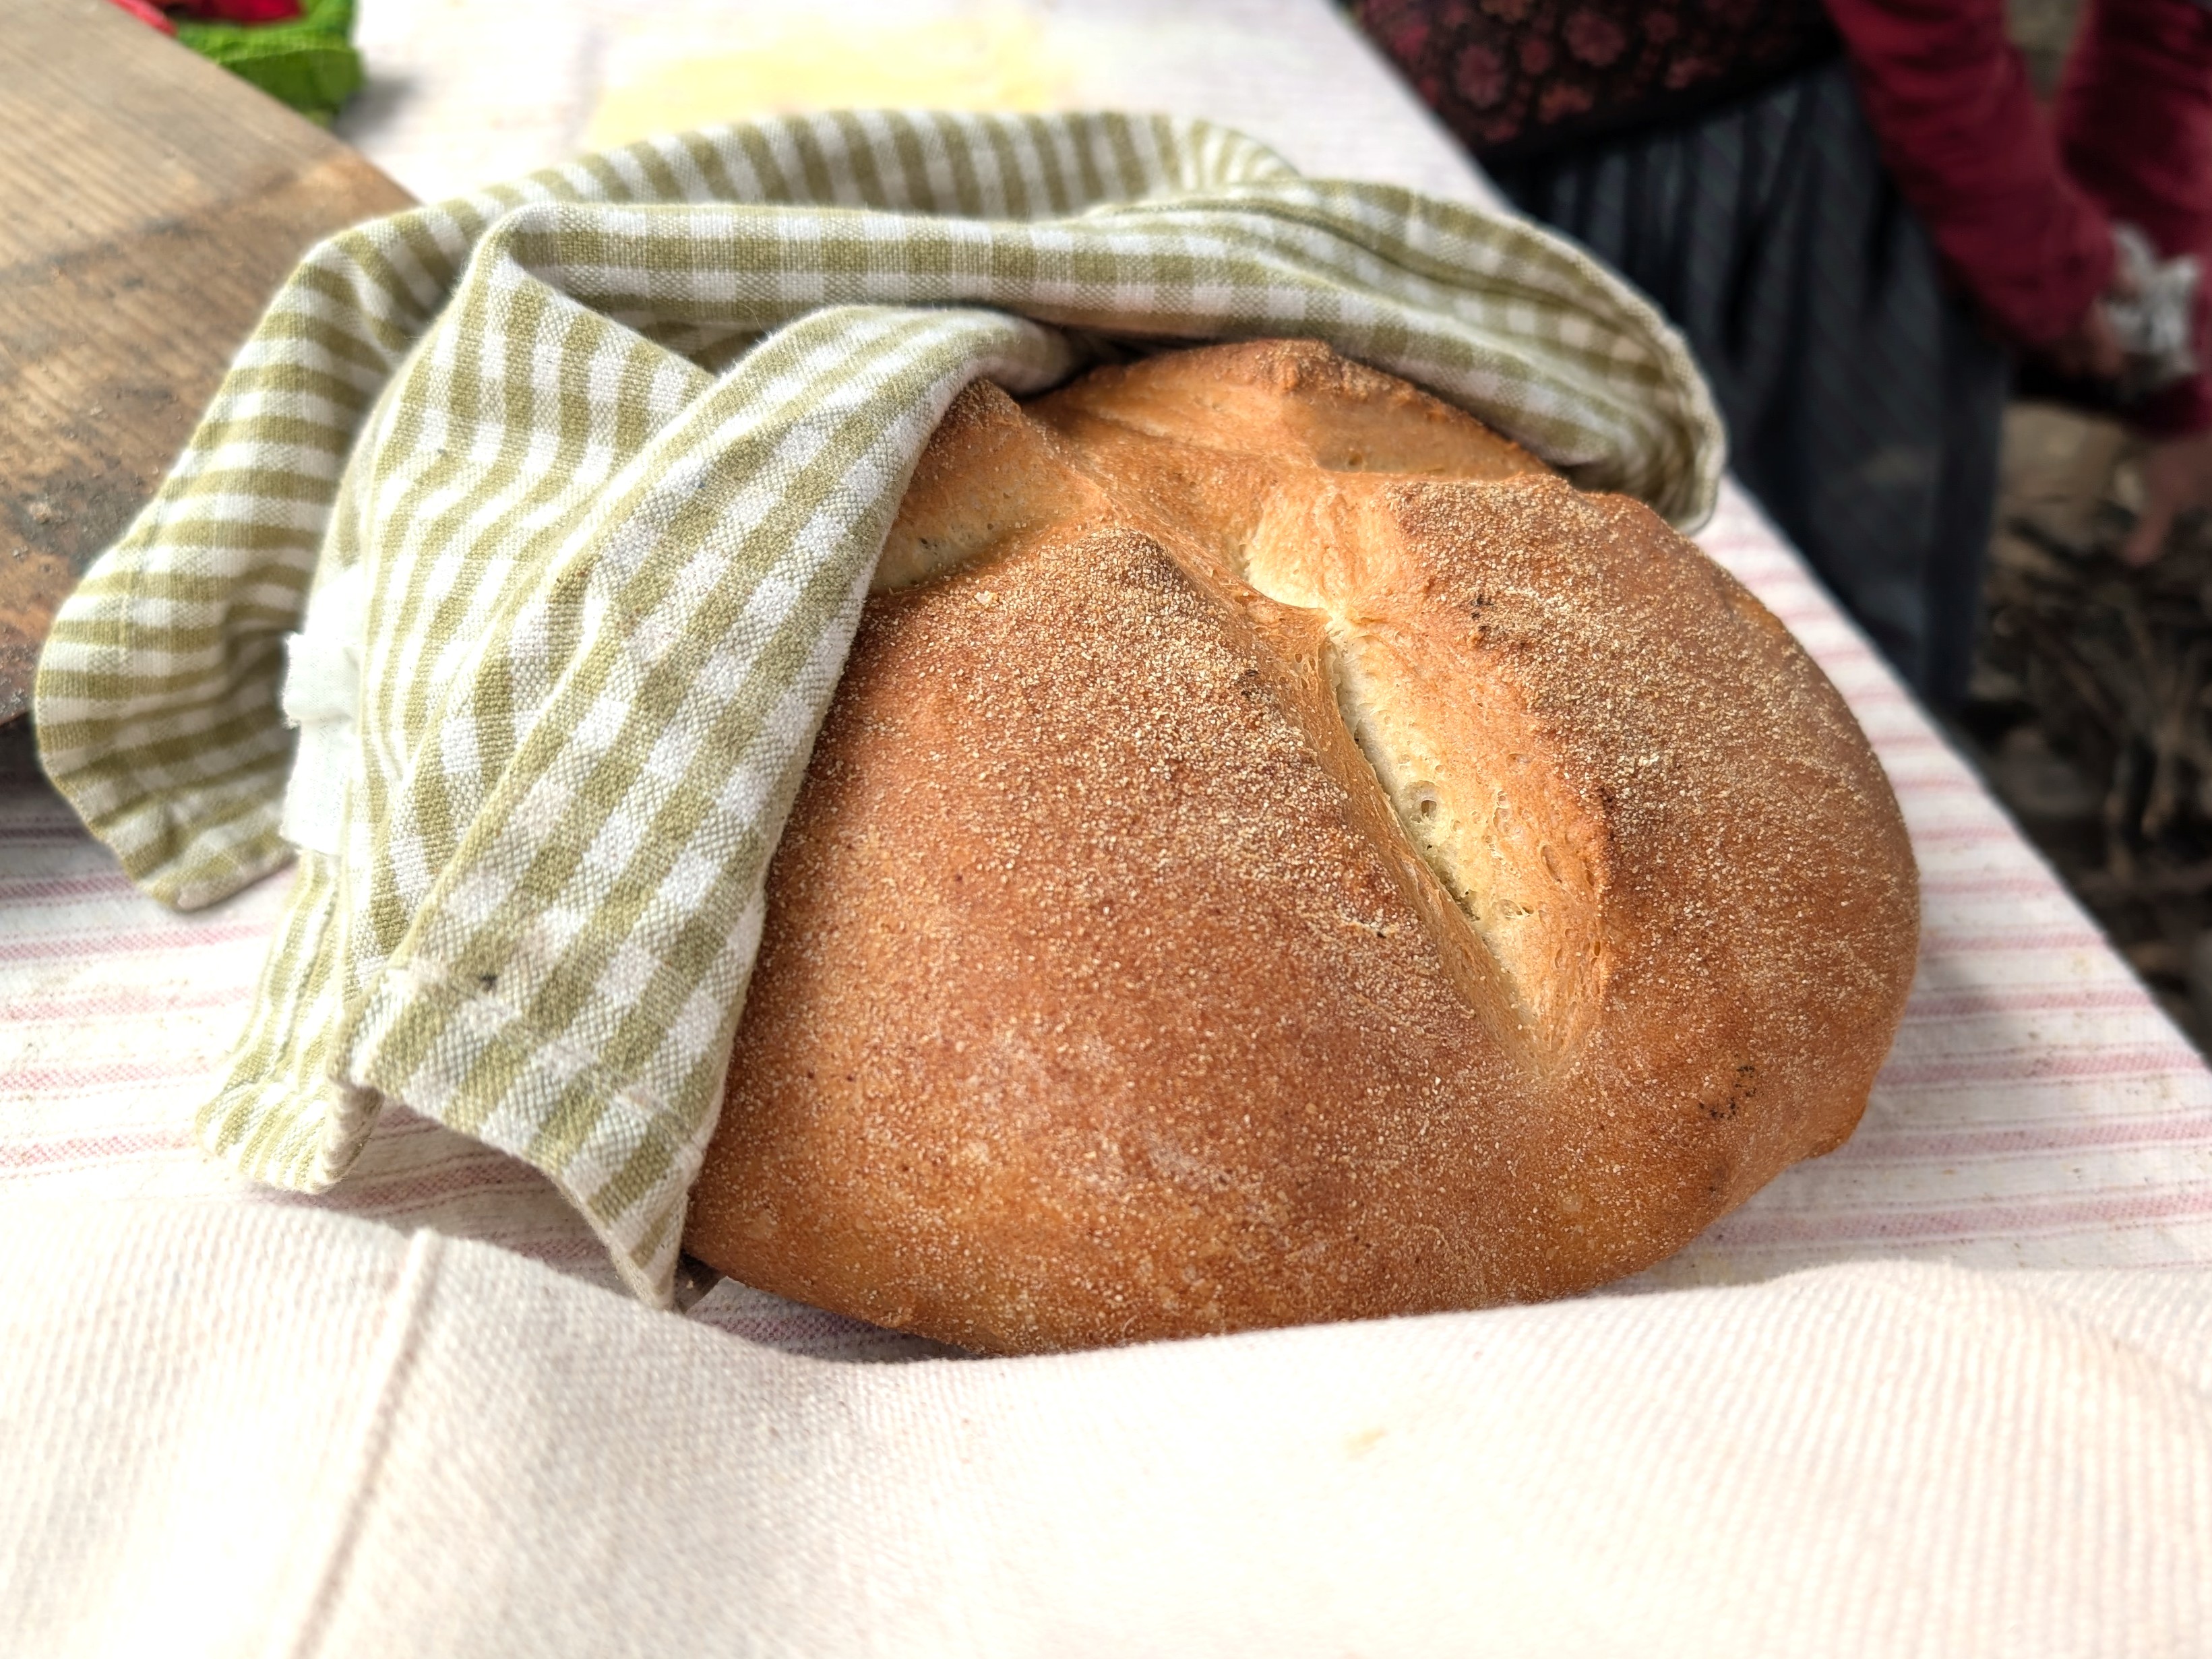
Depending on the size of the loaf, aim for an hour total in the oven. Check for doneness by tapping on top and bottom. It should sound hollow. When it’s done, take it out to cool for at least 10 minutes before eating. If you want a soft crust, wrap the bread in a dry towel as it cools.
Enjoy warm, delicious bread! It tastes especially amazing fresh out of the oven with a little salted butter and honey.
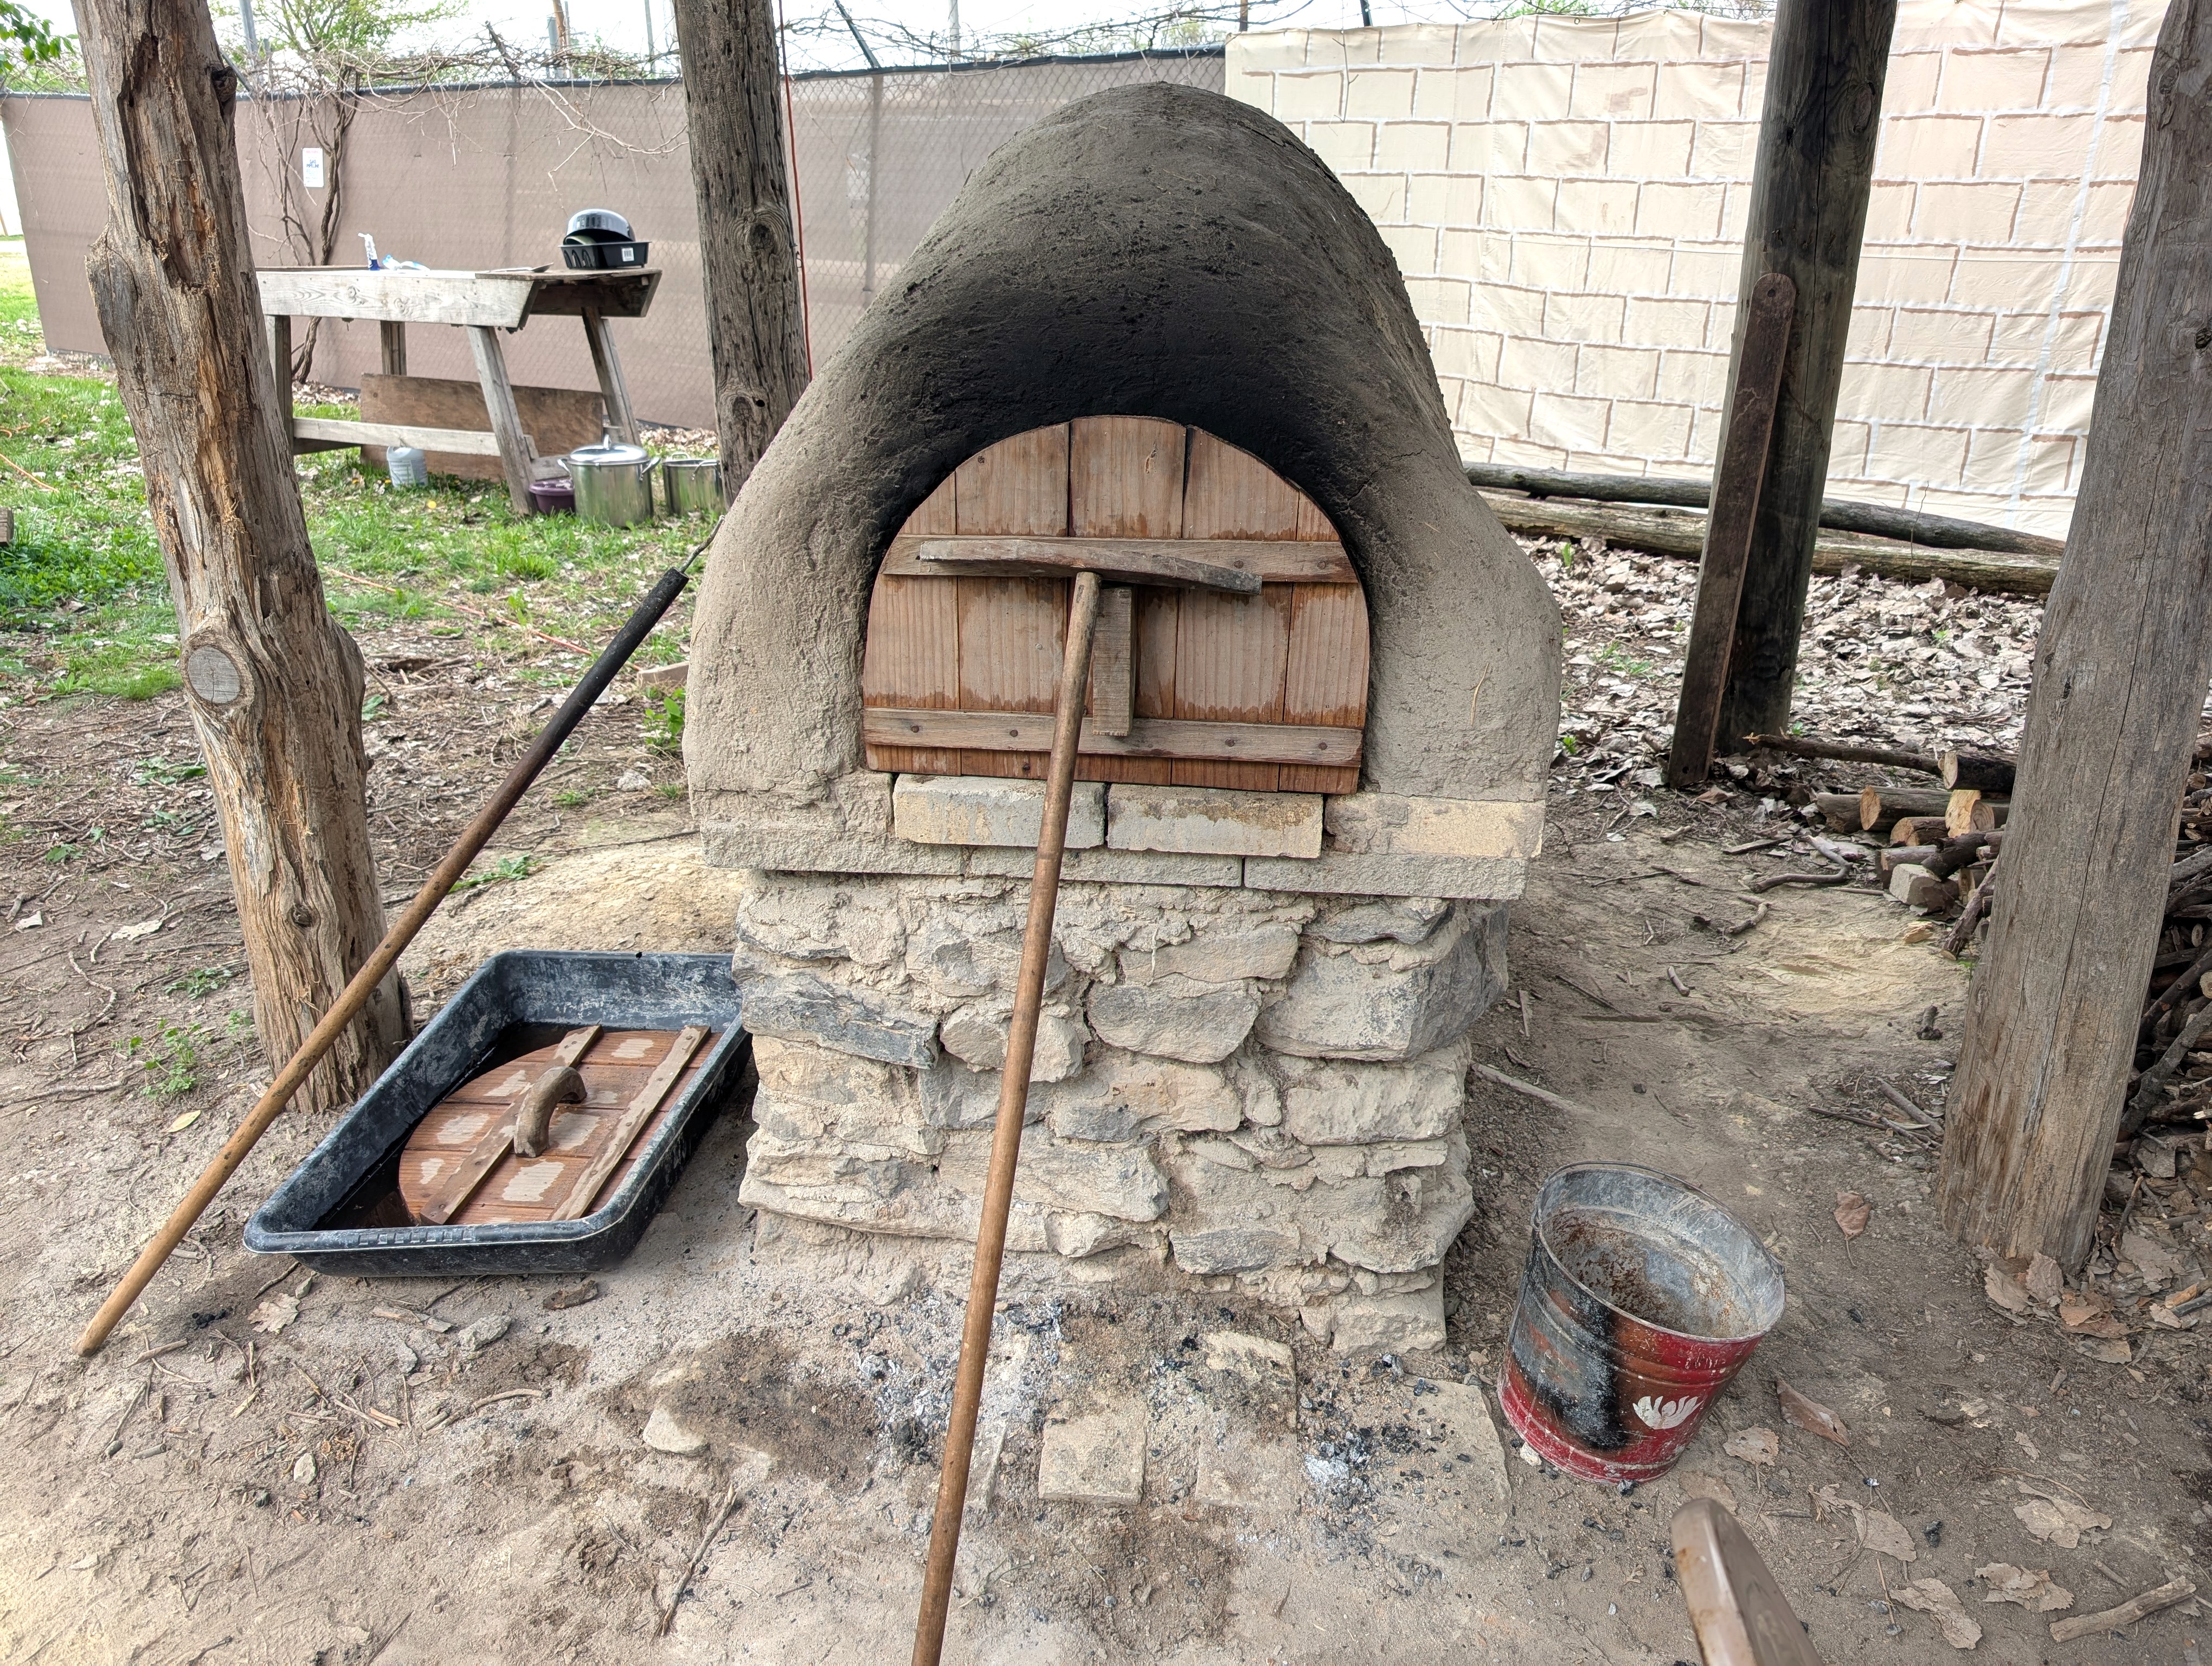
How to Bake in a Wood-Fired Oven:
If you’re lucky, you have access to a clay oven, wooden paddle, a good supply of firewood, and maybe even someone to devotedly tend to the fire and coals like the wonderful and incomparable Alphia. I didn’t have much to do with the oven prep, so there might be a step missing from my notes here.
Before starting a fire, mop the inside walls and floor of the oven and soak the wooden door. This will keep the door from burning, and the extra humidity will take the place of the pan of water you’d otherwise need in a modern oven. The clay oven absorbs and retains the moisture in the walls.
Start a fire, using only untreated wood and sticks. Don’t use anything that might be toxic! Let the fire burn with the oven door off for at least a couple hours before you’re ready to bake. It needs to burn down to coals.
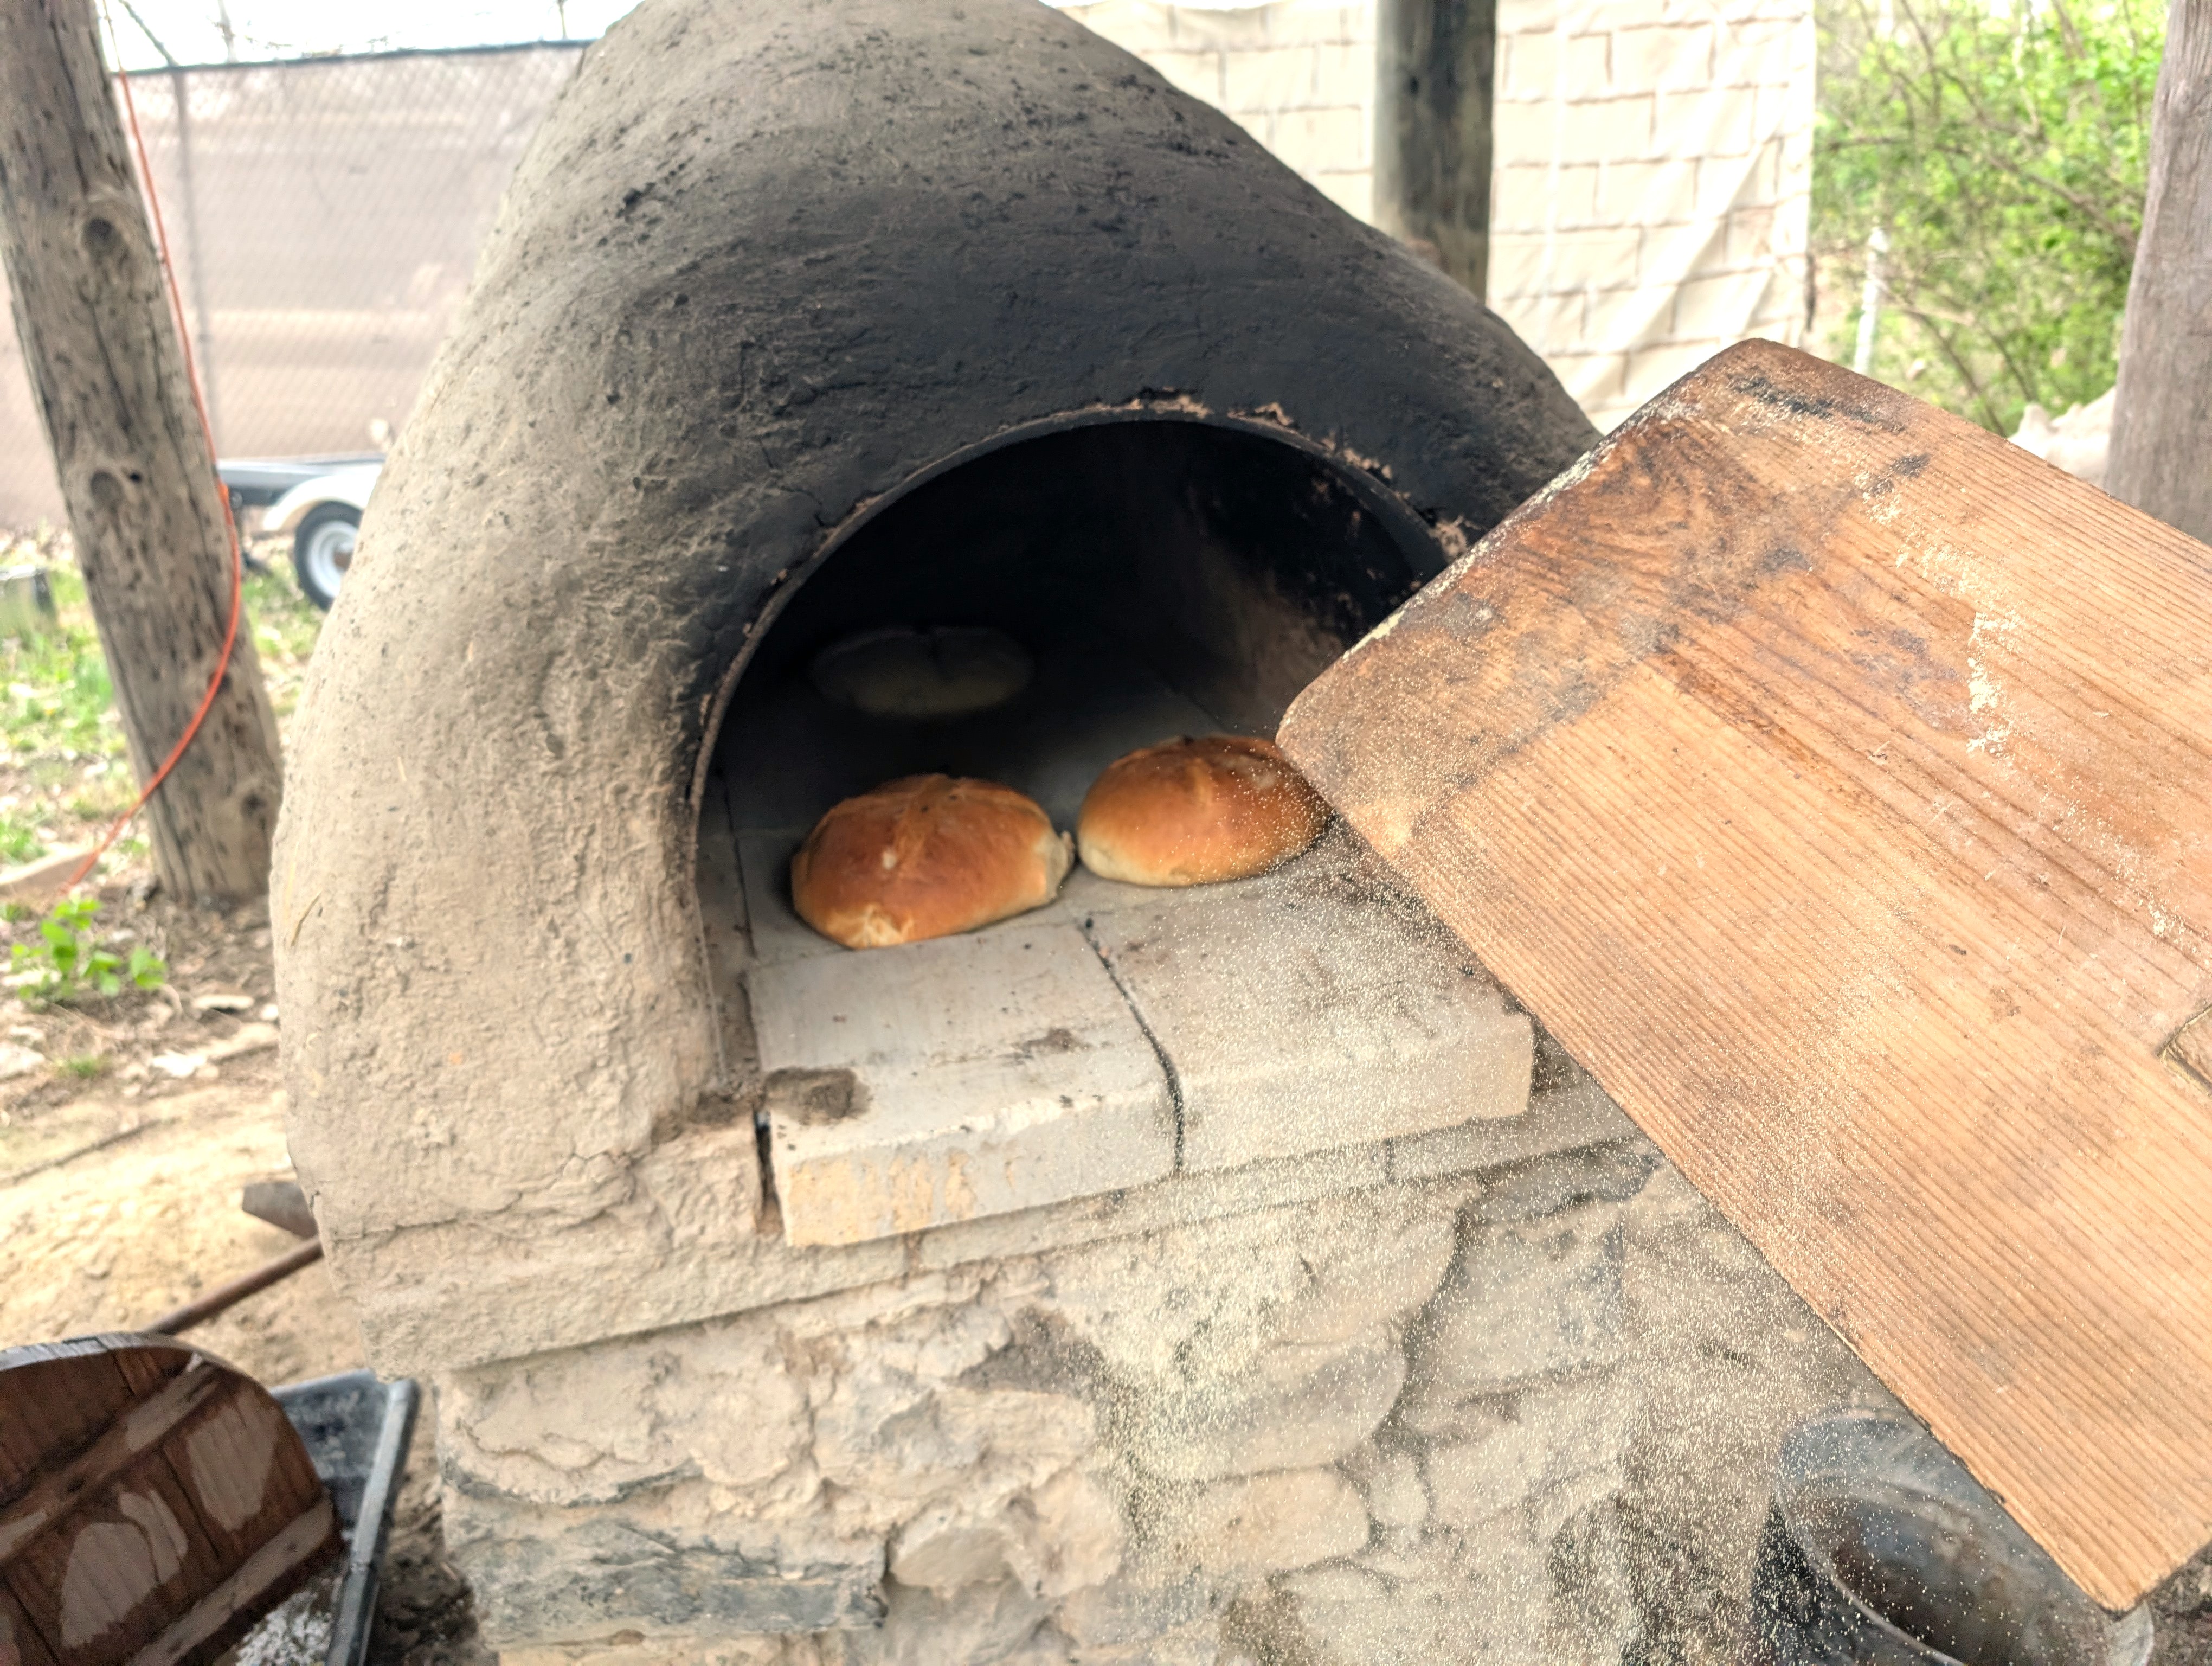
Push the coals to the far back of the oven and spread semolina onto the oven floor. Place more semolina on the wooden paddle, then add the dough on top and place in the center of the oven. Put the oven door on and wait for about 30 minutes.
Open the door to quickly rotate the loaf 180 degrees so it cooks evenly on both sides, then replace the door before too much heat escapes.
Follow the steps above to check for doneness and remove the loaf when it’s ready, using the paddle.
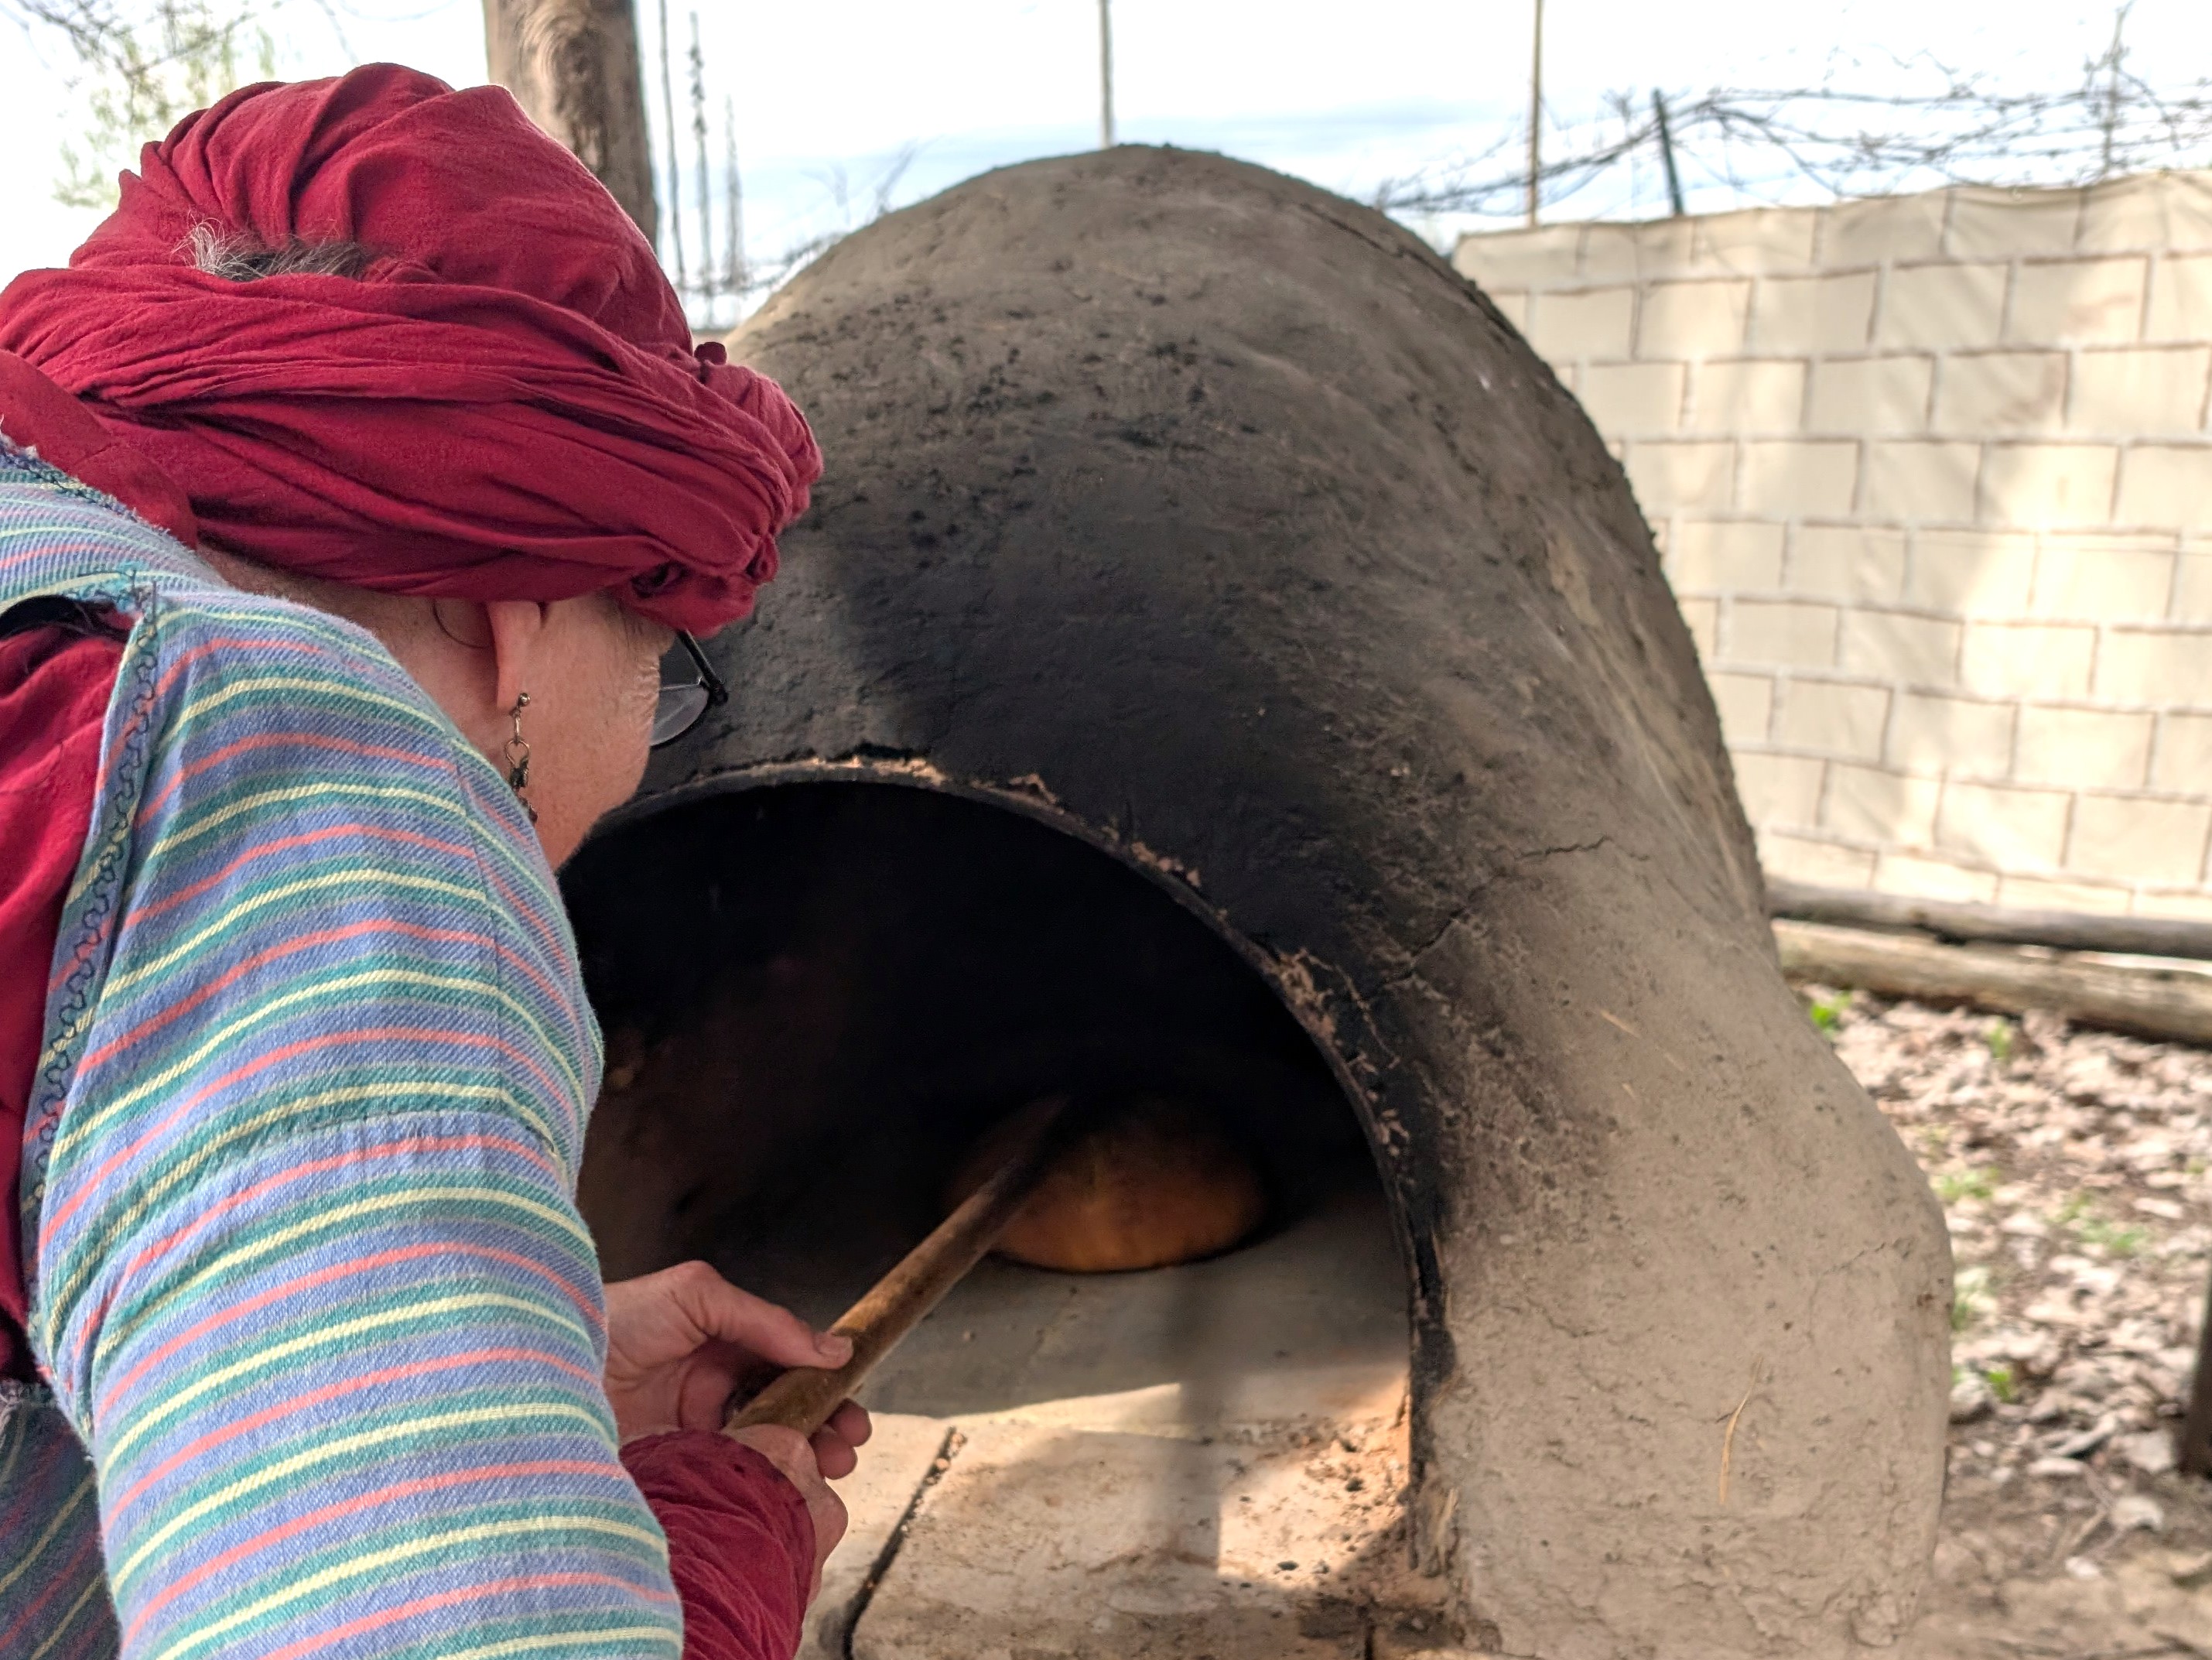

Looks like something out of Mother Hulda’s fairy tale.